A while ago, I built a “new” Prusa MK3S+ out of spare parts on my kitchen table, but never wrote about it or posted pictures. I decided to do the full MK3S+ → MK4 upgrade, even though Prusa themselves slightly warn against it. At the end of the process, you’ll have rebuilt the vast majority of your MK3S+ into a MK4, and will be left with ~75% of a MK3S+ on your kitchen table.
So I decided to order the missing mechanical parts from Prusa directly and start printing the required printed parts. The fact that this was, not only possible, but wholly supported by Prusa is fucking wild. Its the open-source ethos in action. This directly enabled me to go from “a table of spare parts” to “working machine” with a bit of time, effort, and following the pretty-good directions.
Since I needed to build the hotend anyway, I figured I may as well upgrade to an E3D Revo. I followed Prusa’s directions and E3D’s Revo install instructions to build the new hotend. Mashing both instruction sets up together wasn’t the most straight-forward experience, but after a bit of fiddling, I ended up with a working (and upgraded) machine.
Here’s some pictures of the finished build, and a couple printed upgrades to go with it (please excuse the messy workshop [and notice the bonus fire extinguisher for my first test print]):
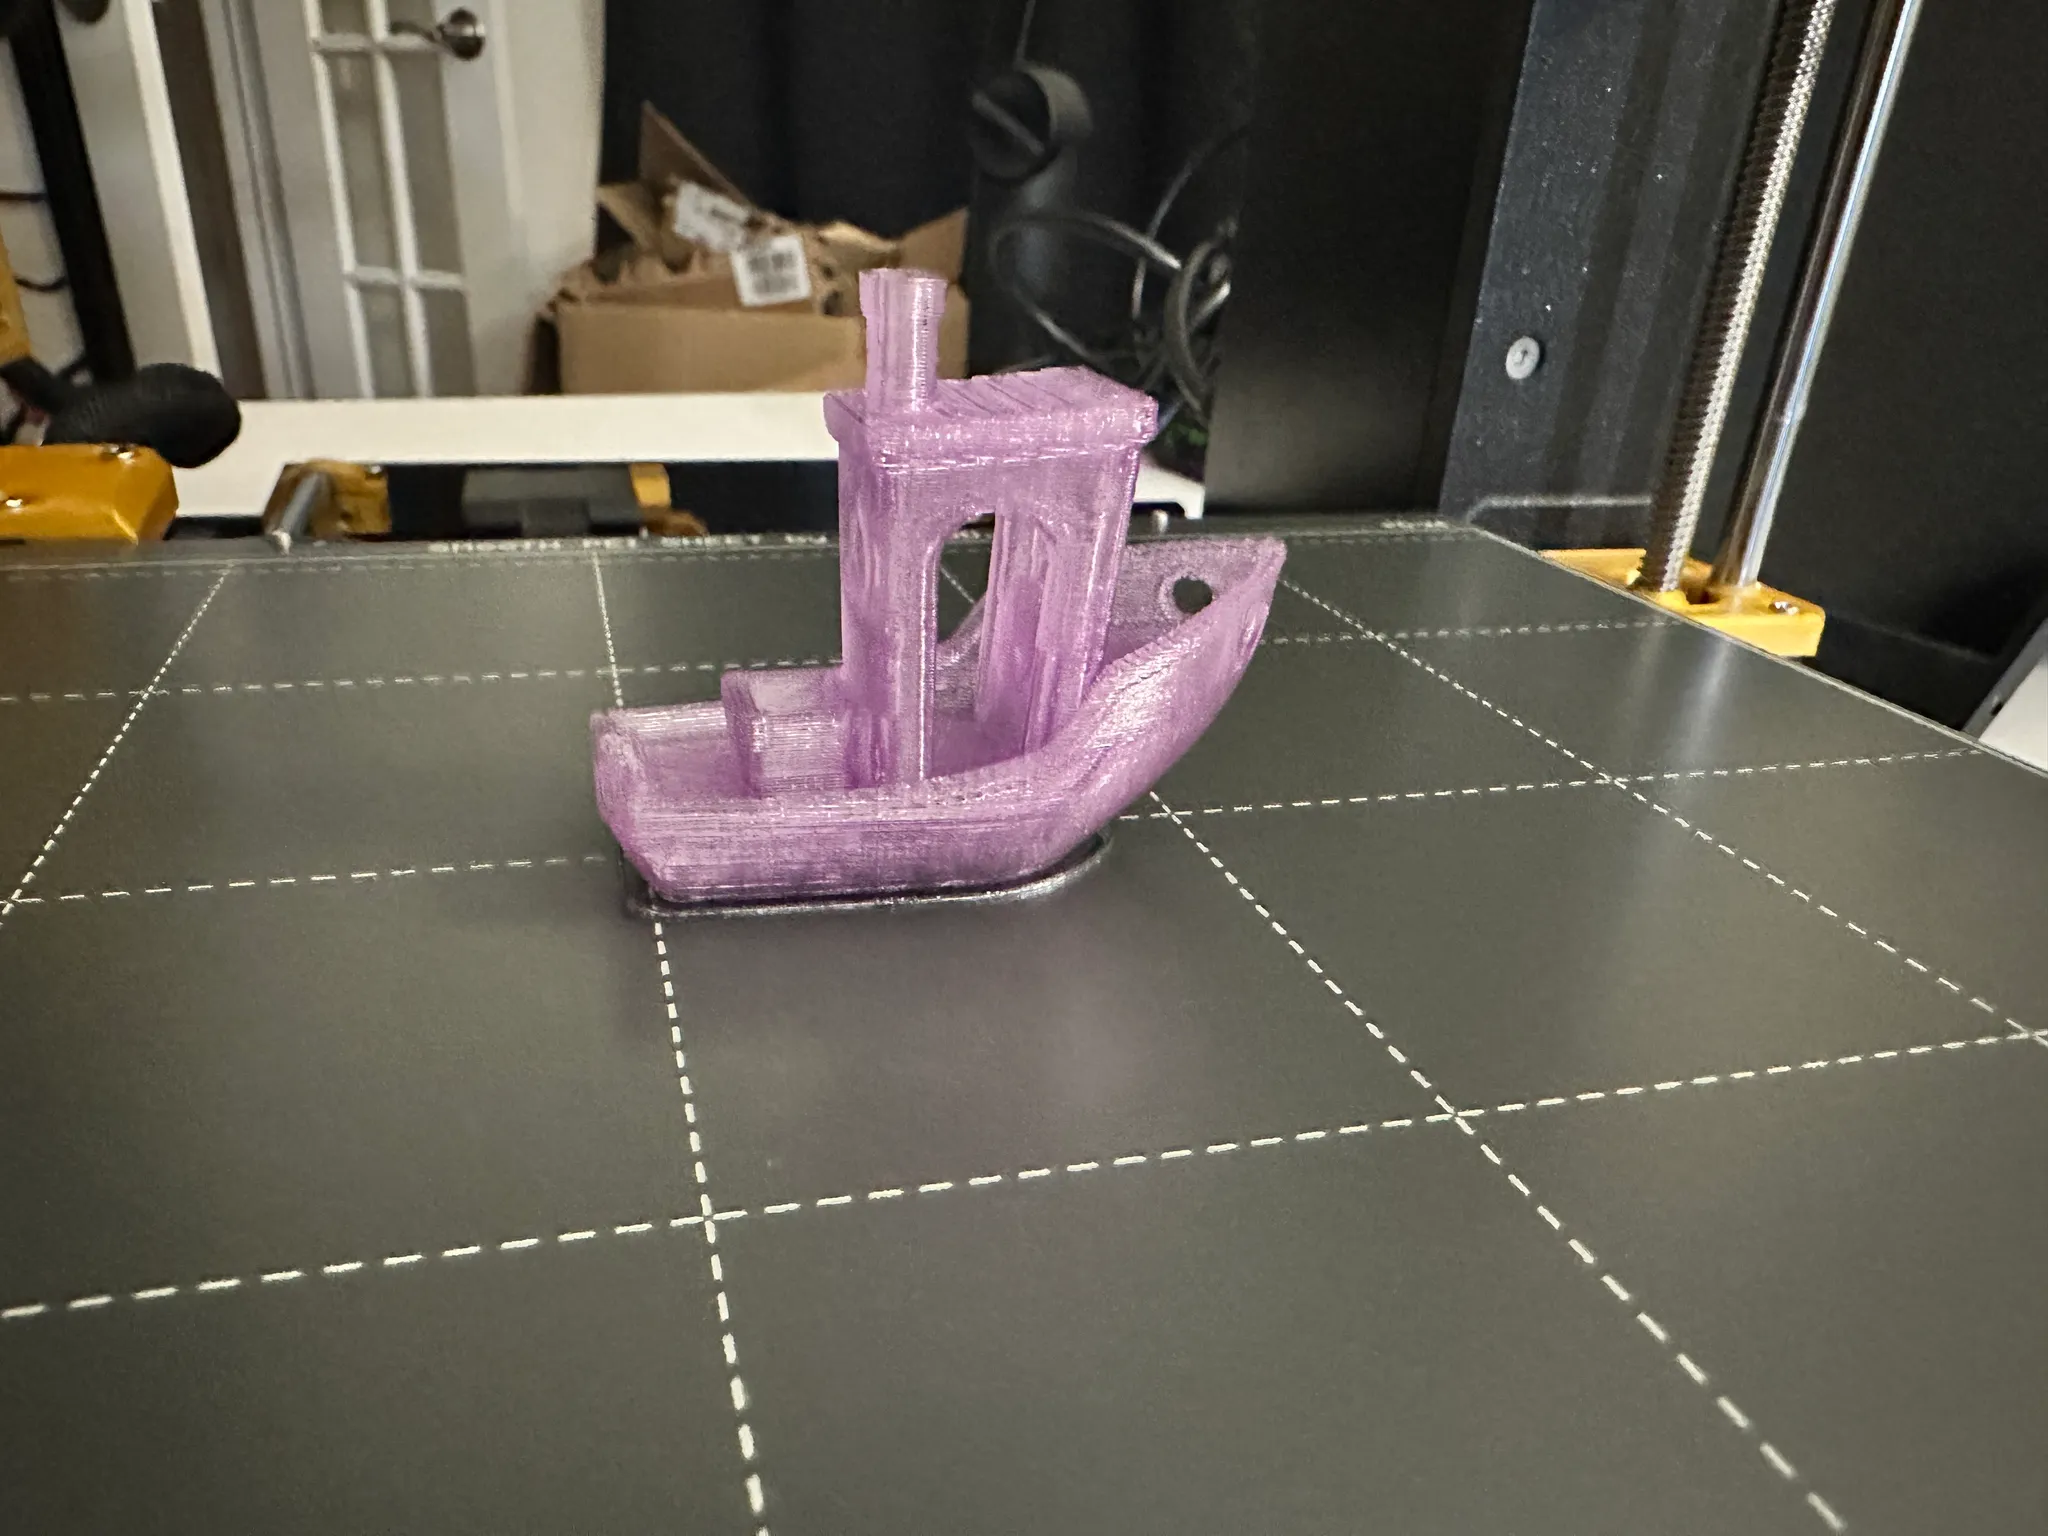
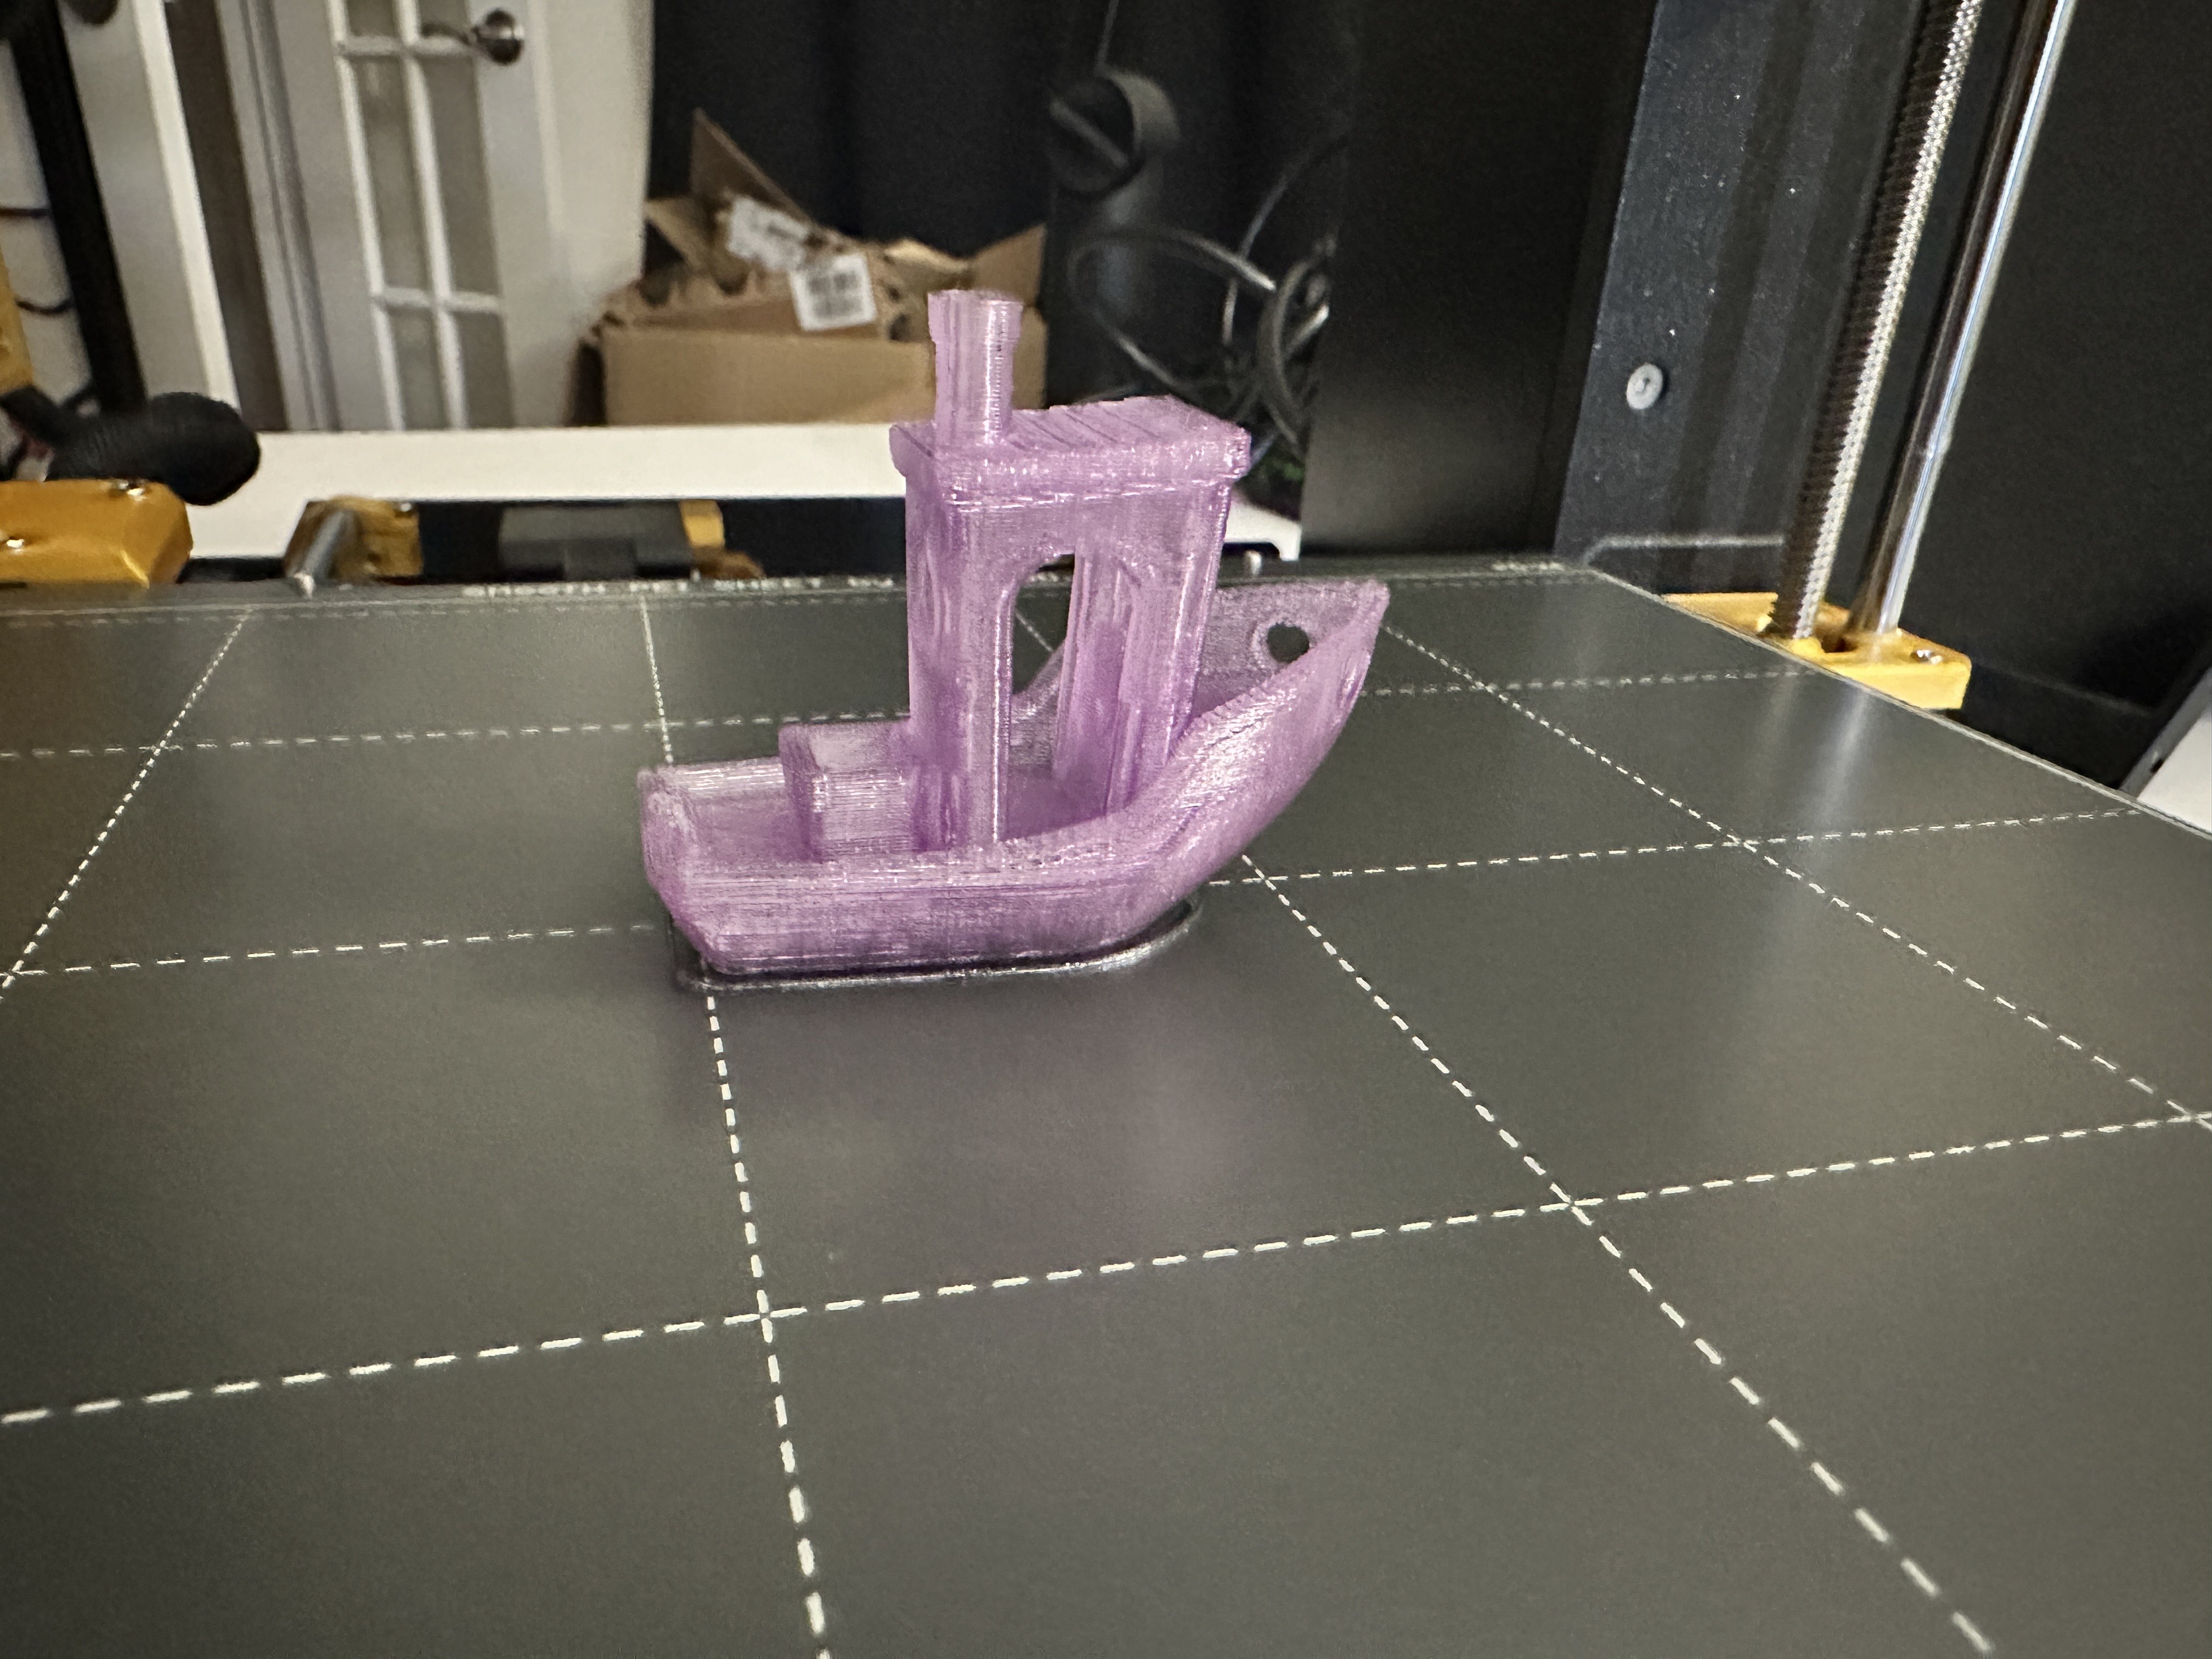
The initial build and first print!
The Benchy looked pretty great in Cookiecad Fairy Floss PLA
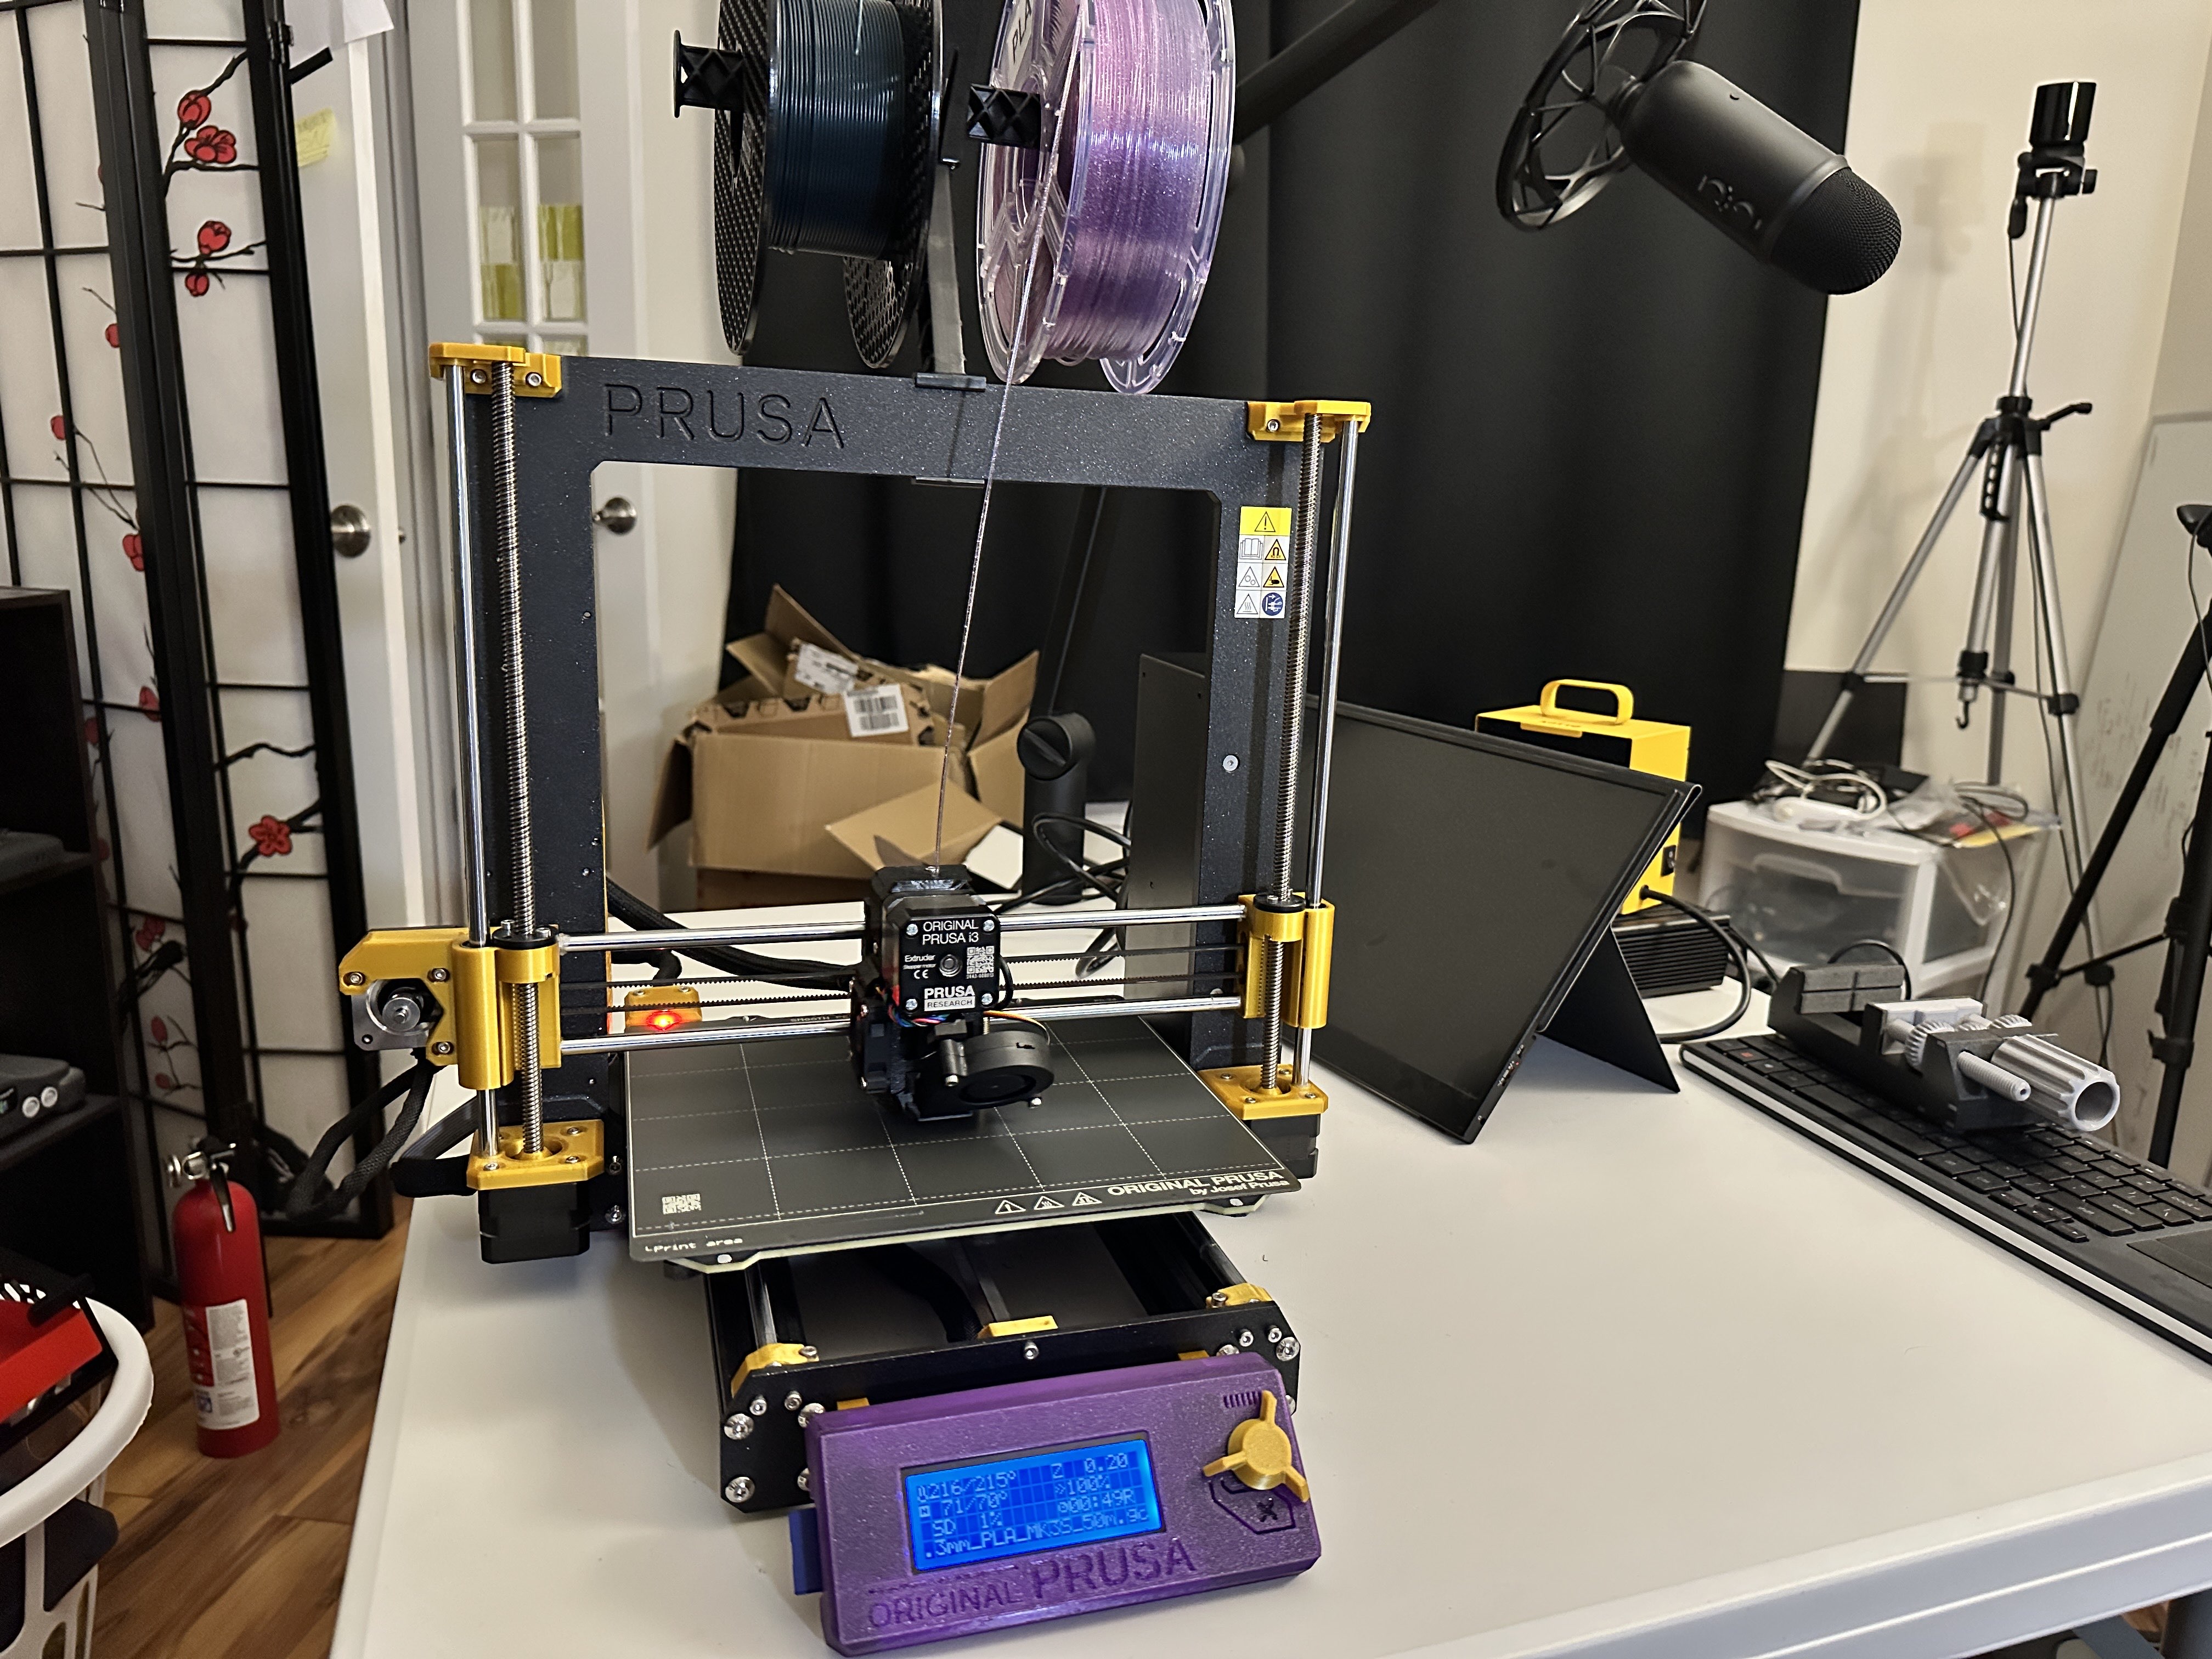
The final iteration of the printer. This comes with an attached Raspberry Pi 3B+
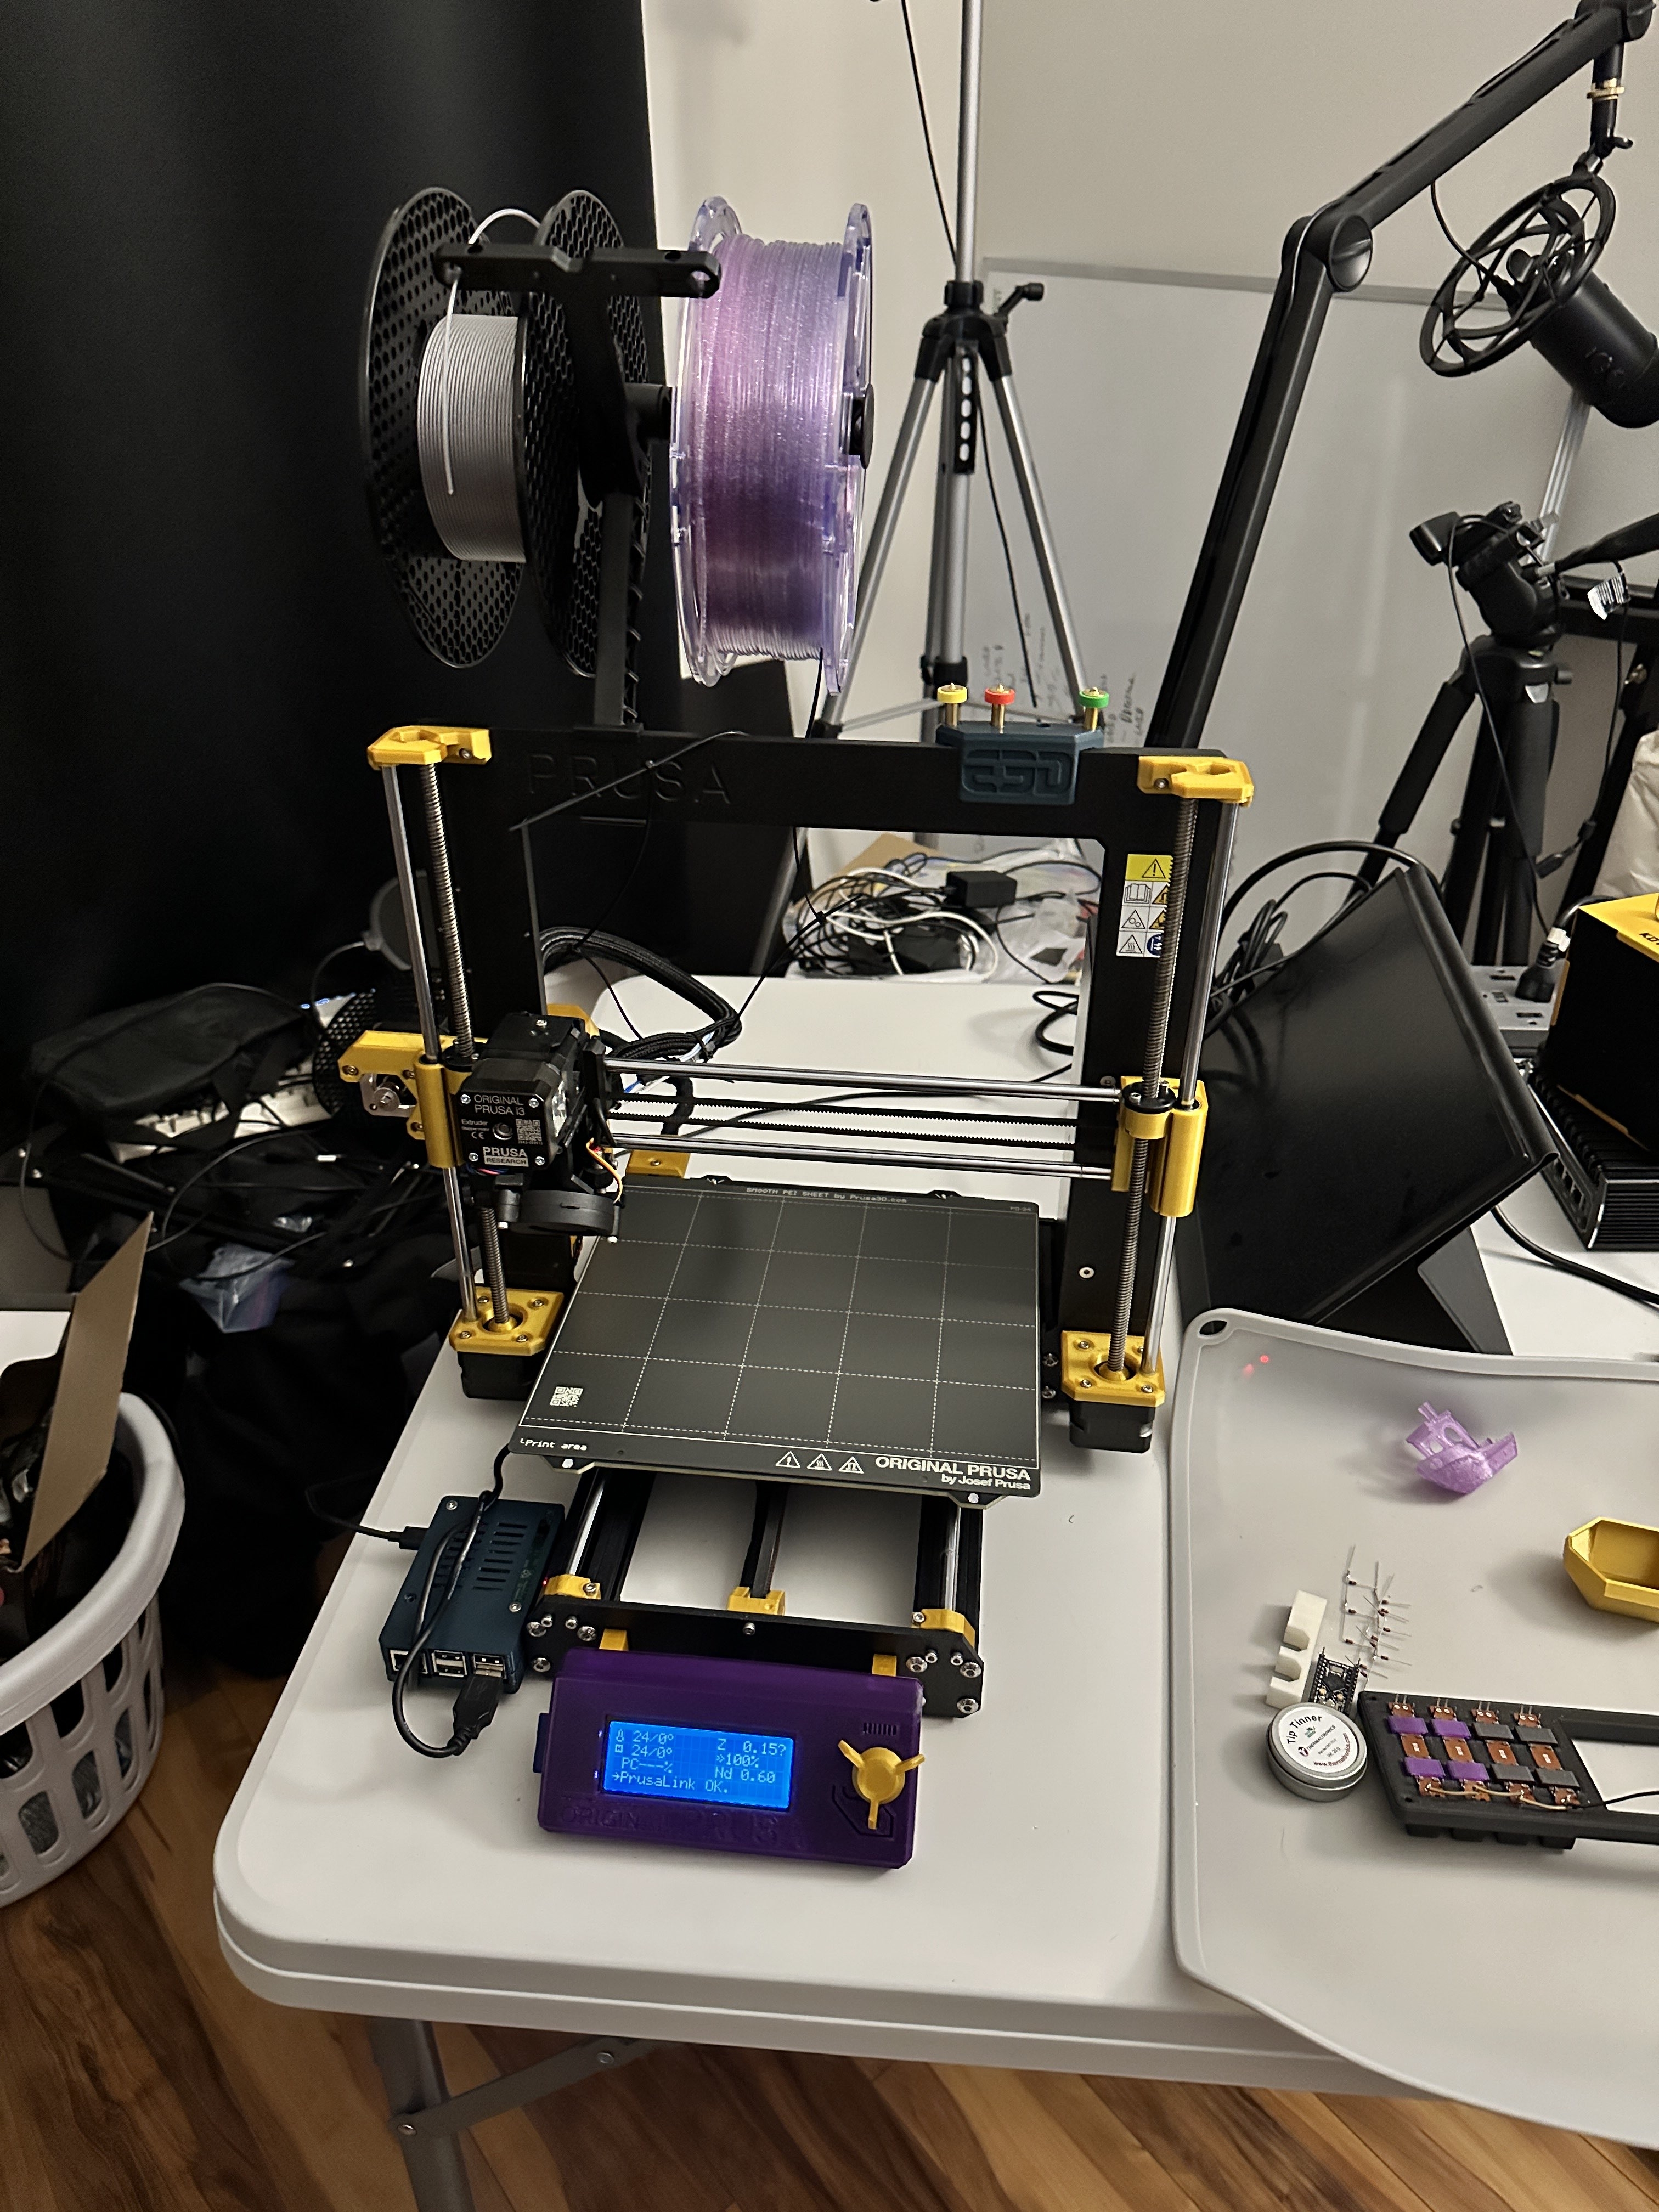
I wanted this to be a mobile manufacturing station that I could just plug-and-play around the house (or even to other people’s houses). I added a few accessories to pull this off:
Logitech C270 Camera Mount [not pictured]
I added this webcam mount to attach to the Raspberry Pi, so I could actively monitor the printer: https://www.printables.com/model/3991-logitech-c270-mount-prusa-i3-mk3
The interface isn’t as tight as I’d like it, the camera will get itself out of position if bumped, but its good enough for now.
Revo Nozzle Holder
This Revo Nozzle Holder just sticks right onto the MK3S+ frame and has slots for holding nozzles. Super handy, no chance of me losing them.
https://www.printables.com/model/99012-revo-nozzle-holder-for-prusa-mk3s
PrusaLink / Prusa Connect on a Raspberry Pi 3B+
I love the ability to just send jobs from PrusaSlicer and have them start on the printer. Extremely handy, and it would share the same interface as my MK4. I printed up a case, followed the directions, and everything just worked.
https://www.printables.com/model/5313-raspberry-pi-3b-case-for-mk3-v-vslot-with-screw
https://help.prusa3d.com/guide/prusalink-prusa-connect-with-rpi-3-4-usb-mk2-5-s-mk3-s_469341
Where to get it
If you’d like to get your own MK3S+, you’ve gotta build it yourself. Honestly, just get one of Prusa’s other excellent printers. If you’re really insistent on building one yourself:
- Printable Parts: https://www.printables.com/model/57217-i3-mk3s-printable-parts
- Spare Parts: https://www.prusa3d.com/category/mk3-mk3s-mk3s/
- Main GitHub Repo (and links to other necessary repos): https://github.com/prusa3d/Original-Prusa-i3/tree/MK3S
- Raspberry Pi PrusaLink Setup: https://help.prusa3d.com/guide/prusalink-prusa-connect-with-rpi-3-4-usb-mk2-5-s-mk3-s_469341