Sometimes you don’t need a full CAD workflow to make modifications to a model, your slicer is capable of some truly amazing feats! Here’s a story about a time where I had a model that I loved that didn’t quite meet my requirements and a remix that also didn’t meet my requirements. The “only” solution was to mash up the two models to make something a bit more customized.
I’ve been trying to upgrade my domains of nerddom and one area I’ve always been mostly-blind to is the physical craft of electronics. I know just enough to be dangerous and spot obvious problems (after they’ve combusted), but I’ve never delved into the practice of soldering or building/repairing my own electronics. Luckily, I have friends well-versed in this domain. I bought a PINECIL and had a friend walk me through the very basics of soldering.
He recommended this PINECIL case on Printables, which is an extremely nice model. Functional and beautiful. The only issue with it is: I’m not gonna use those extra iron tips. While I have another tip, I have neither the experience nor knowledge to use them effectively yet. I’m still an absolute beginner at this stage, I just don’t know what I don’t know.
My friend recommended a flux pen for my beginner soldering kit, but the default case didn’t come with a spot for it. Luckily, this remix of the PINECIL case had a socket that fit perfectly, but it was mashed up with the soldering iron tip holder that I didn’t need. I wanted to blend the models together so I could replace the spare-tip holder with the flux pen socket. Normally, I’d just take this out to TinkerCAD, but I wanted to see if I could get away with a more “low-tech” solution.
For better or worse, that low-tech solution was some goblin engineering shit with PrusaSlicer:
What have I done??
Instead of solving this problem “correctly”, I decided to solve it “good enough”. PrusaSlicer has a great feature called “Negative Volume Modifiers”. You can do a lot of different functions with these simple shapes, even adding text to models easily. This particular modifier just removed areas of a model, kinda like a big boxy 3D eraser.
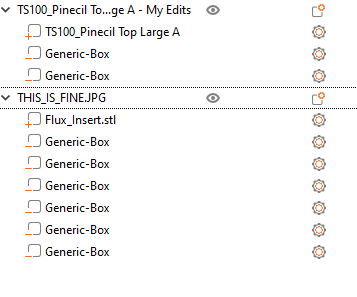
Let’s dive into what this mess actually does:
The first model uses negative volumes to remove the spare tip holders from the model. It isn’t perfect and leaves some gaps in the original filet of the case, but it’s good enough:
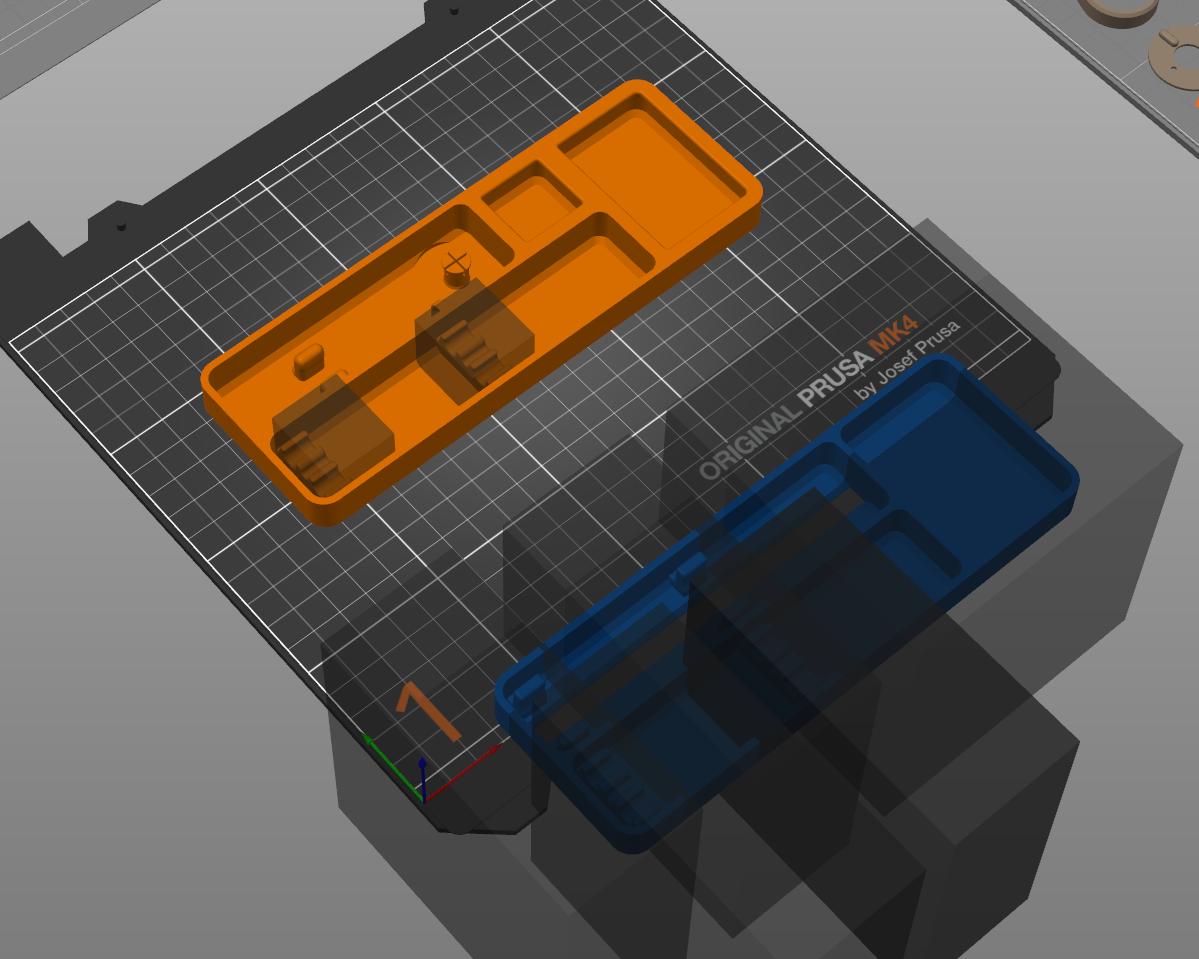
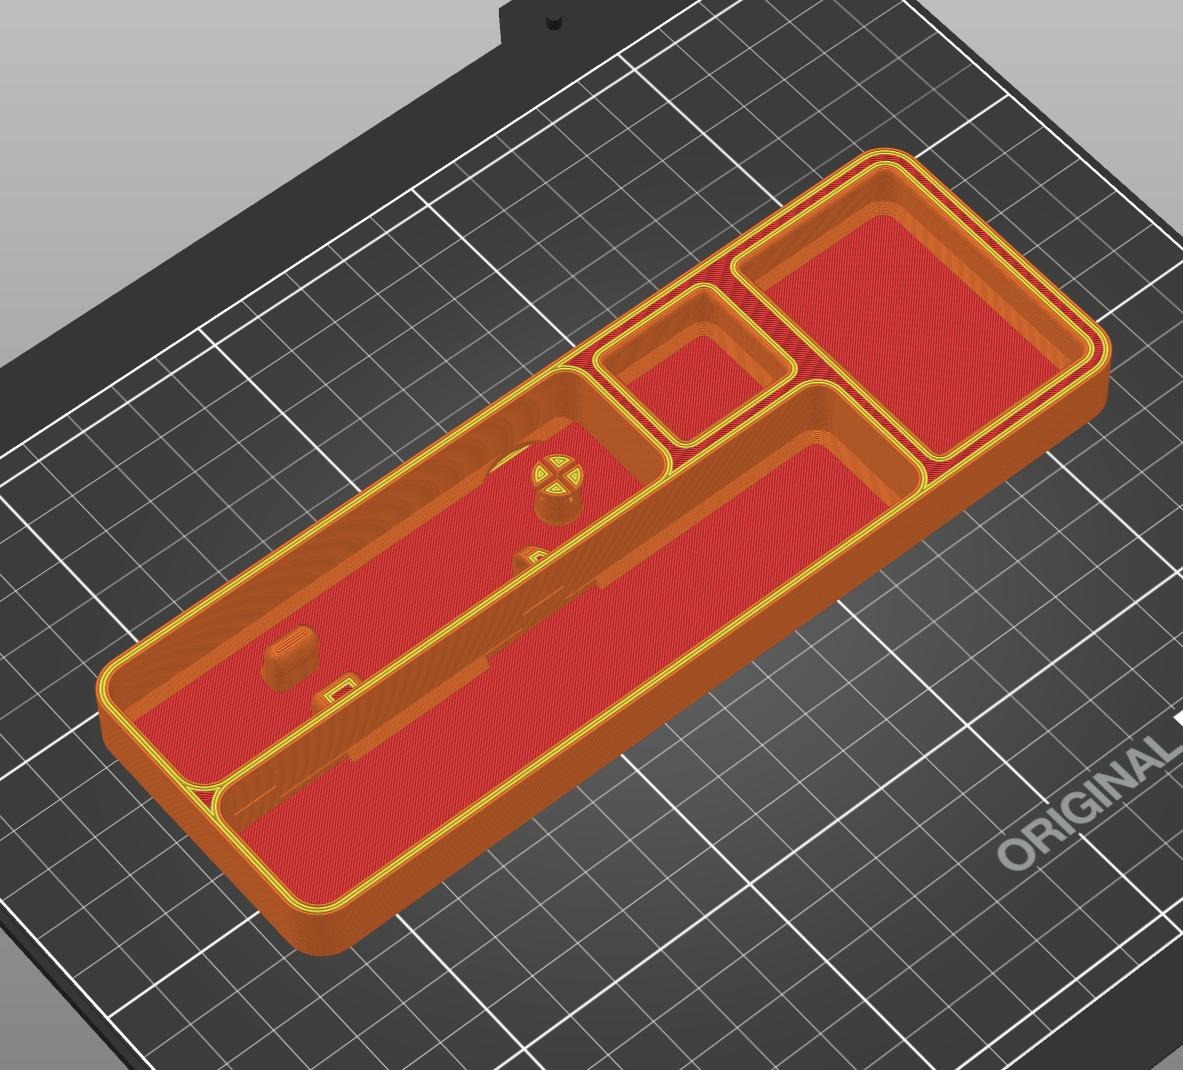
This leaves us a space to add the flux pen socket!
The second model just removes the entire case around the flux pen socket, leaving just the socket behind:
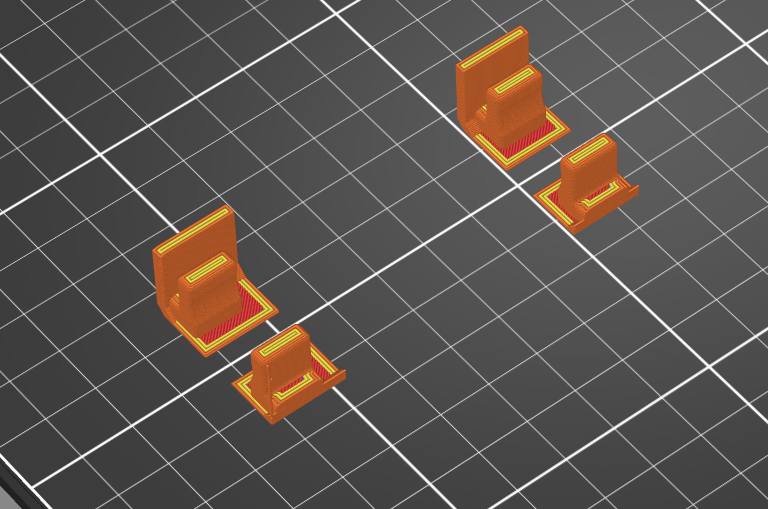
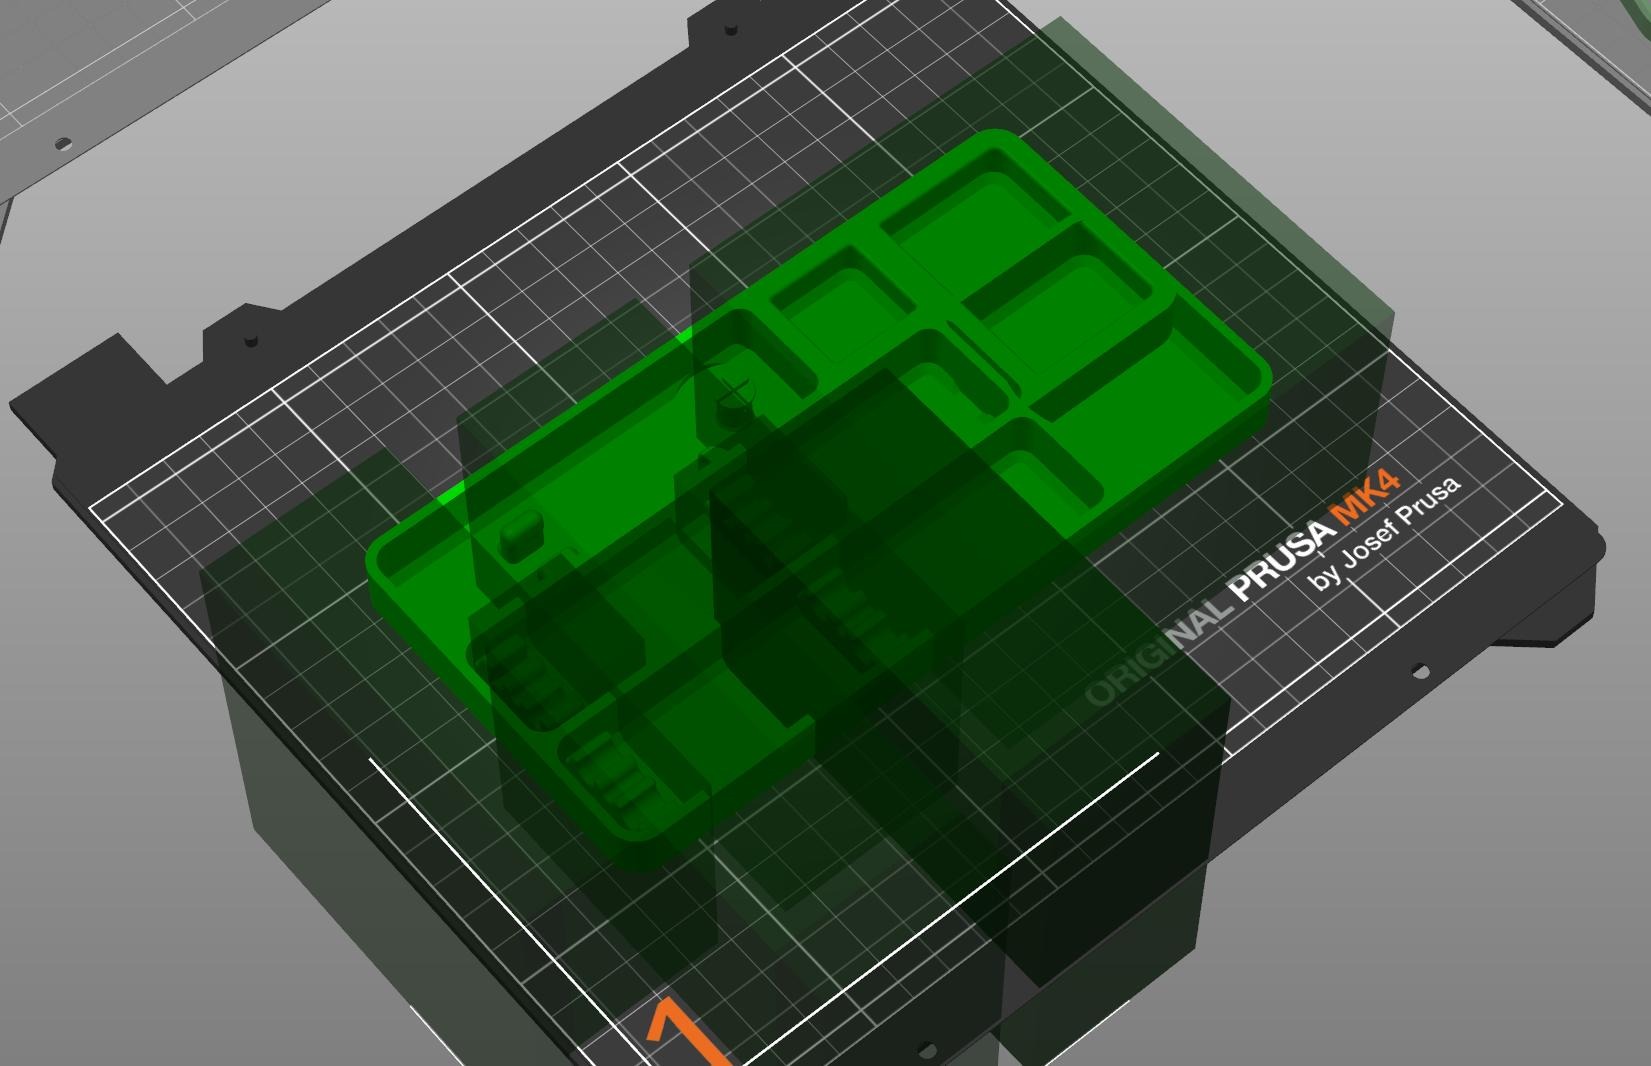
Now, we just gotta overlay those models just right and….

Voila! We’ve now mashed up both of these models to come up with a jankier third option. Slicing this model does result in some problematic g-code and PrusaSlicer isn’t too happy about it:
![A screenshot of a PrusaSlicer warning message. The text reads:
ERROR:
Conflicts in G-code paths have been detected at layer 78, z=0.00mm. Please reposition the conflicting objects (THIS_IS_FINE.JPG <-> TS100_Pinecil Top Large A - My Edits) further apart.
Jump to [TS100 Pinecil Top Large A - My Edits]](/img/content/2025-02-11-Stupid-Slicer-Tricks-Model-Mashup_07.png)
Sadly, this is actually exactly what we want. We have two different models that should be printed on top of each other. The only question was: Would this print correctly? Let’s take a closer look at the g-code preview and try to discern what’s going on.
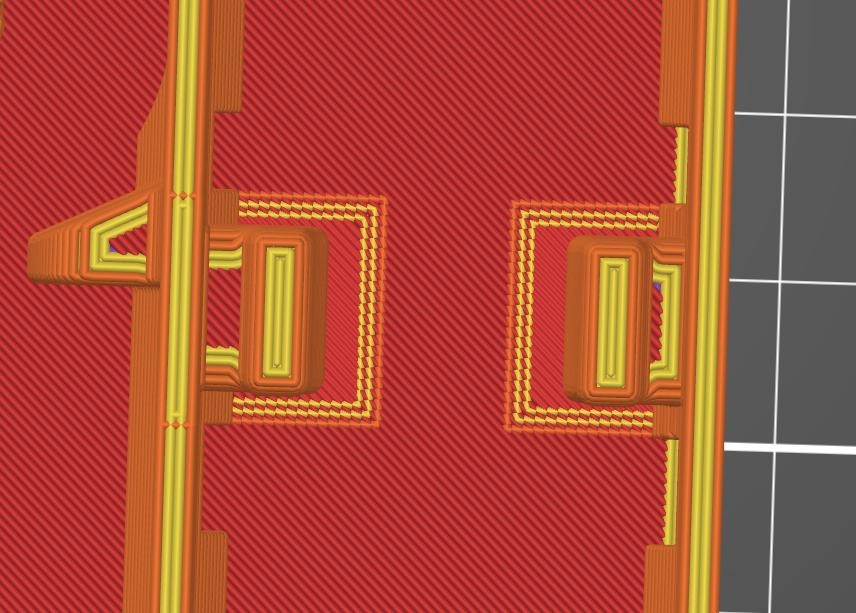
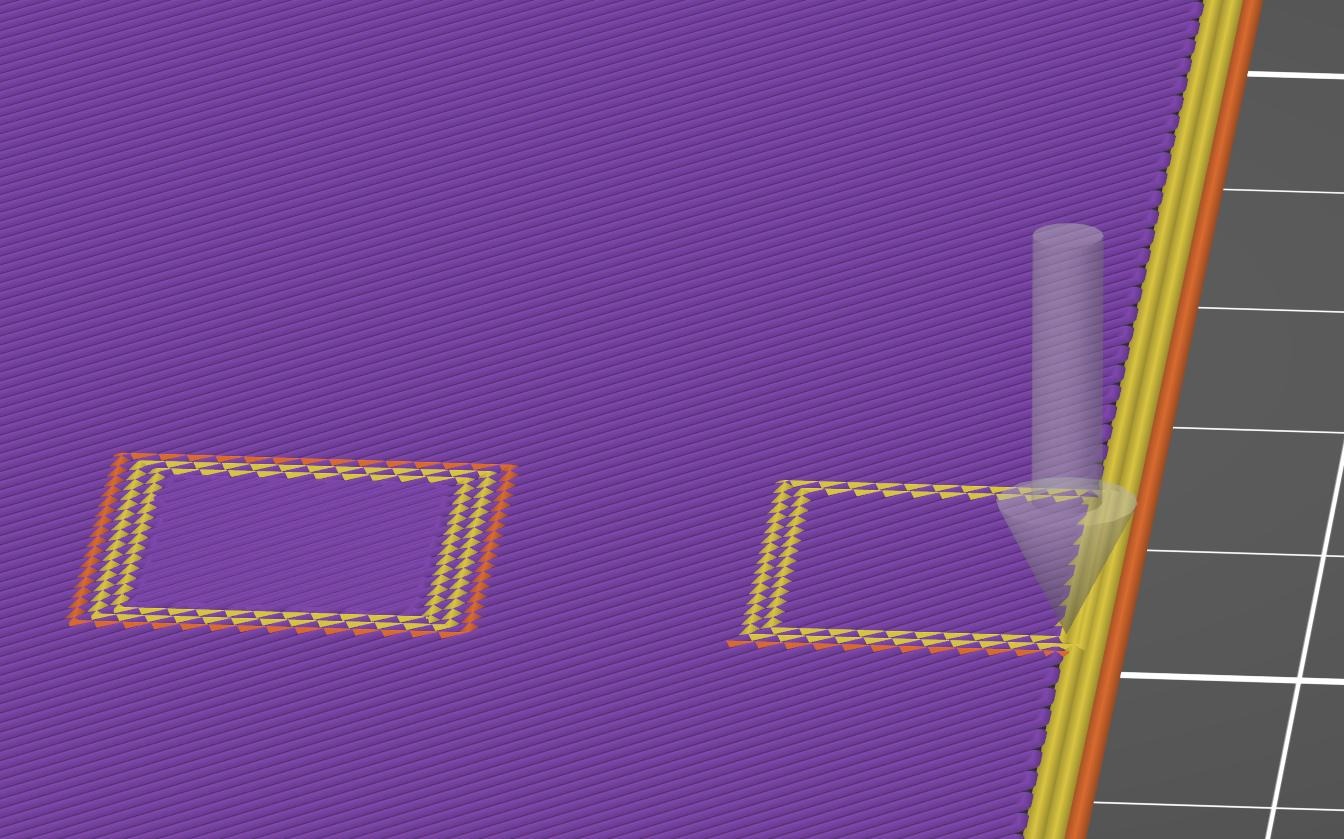
This is just a guess, but it appears that one layer of the model is printed twice in the same location. Obviously, this isn’t optimal, but as long as it doesn’t fail the print completely, it should be fine. This is actually the first time I’m seeing this type of error in PrusaSlicer. Lucky for me, PrusaSlicer complains, but doesn’t actually stop me from doing some absolutely hacky bullshit.
I absolutely love this. While it may be conventional to just hard-stop the user from doing something dumb, the fact that it complains, then allows the behavior anyway is fucking fantastic. This is how open-source software should work: Tell me what I’m doing is dumb as hell, but then let me do it anyway, consequences be damned.
I sent the job off to the printer and watched as it double-printed the flux pen socket. The nozzle tried to put down molten plastic into already-solidified plastic, and that didn’t work too well. It squiggled out and made a small mess, but didn’t actually fail or nozzle-crash. The next layer went down perfectly well. No complaints, no issues. It just did the job.
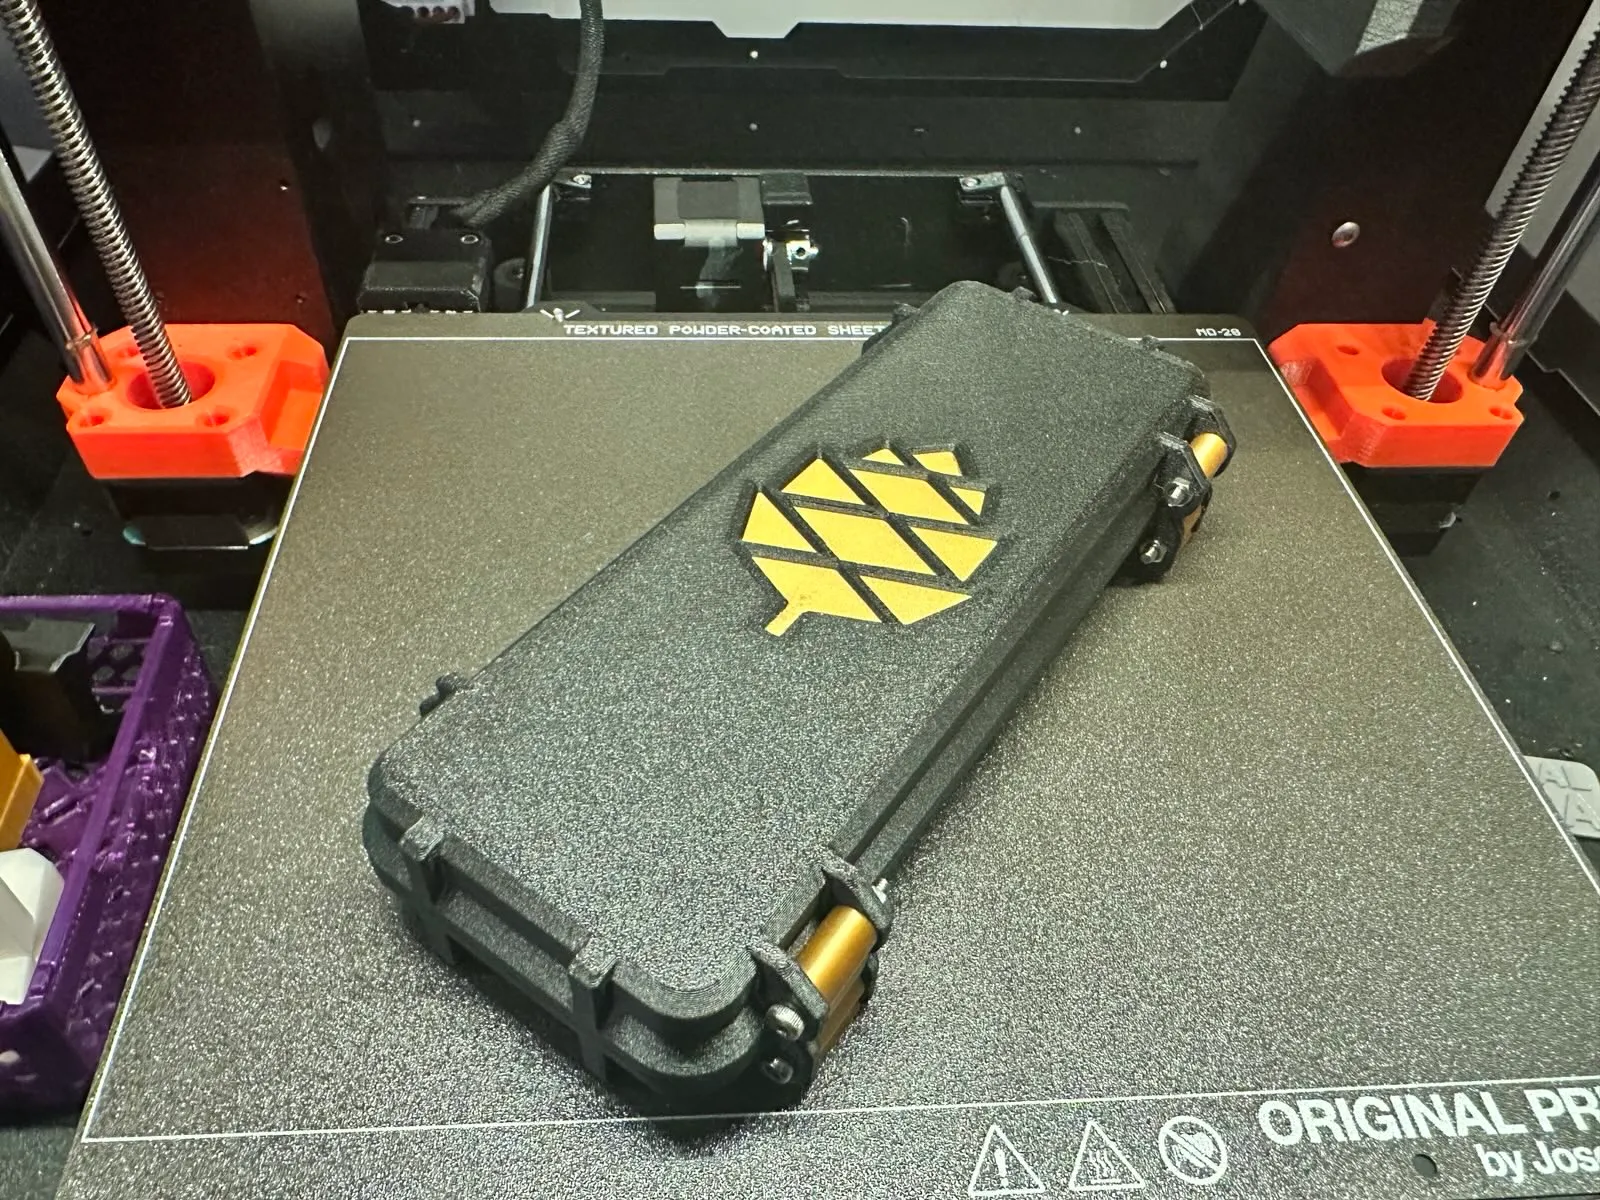
Check out the final product to see the results:

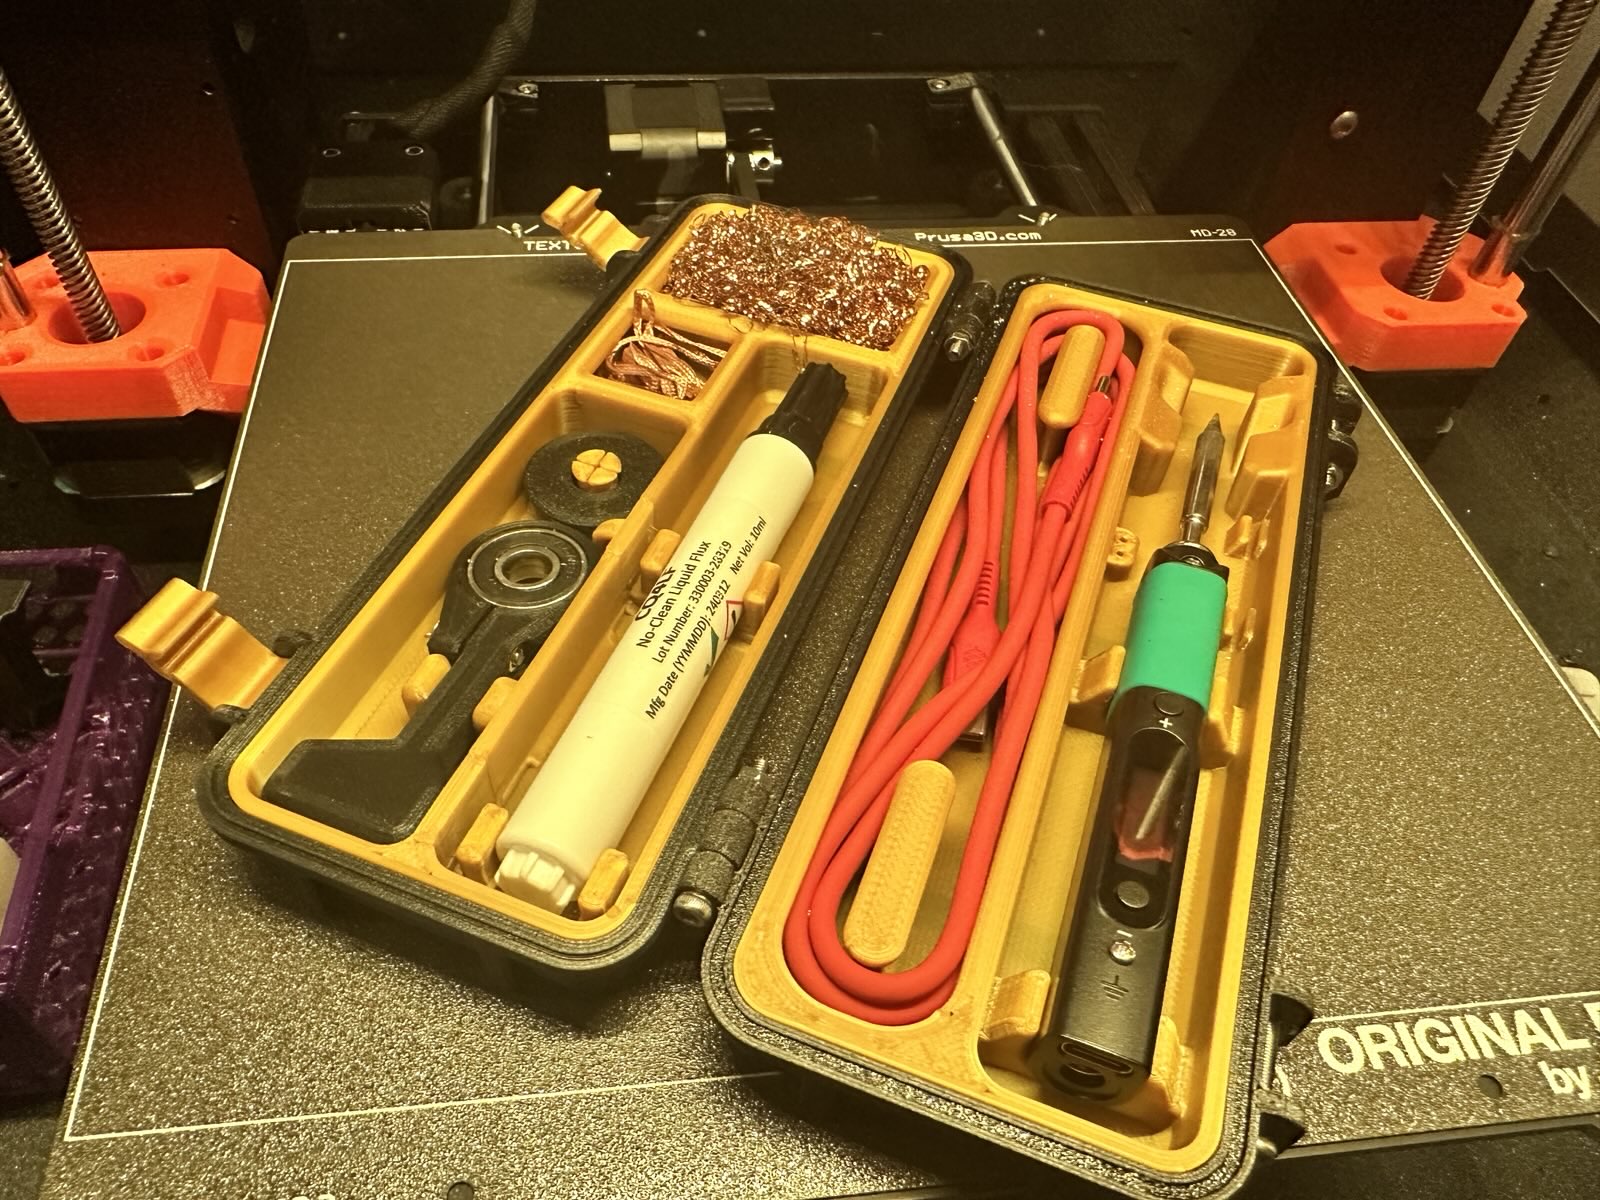
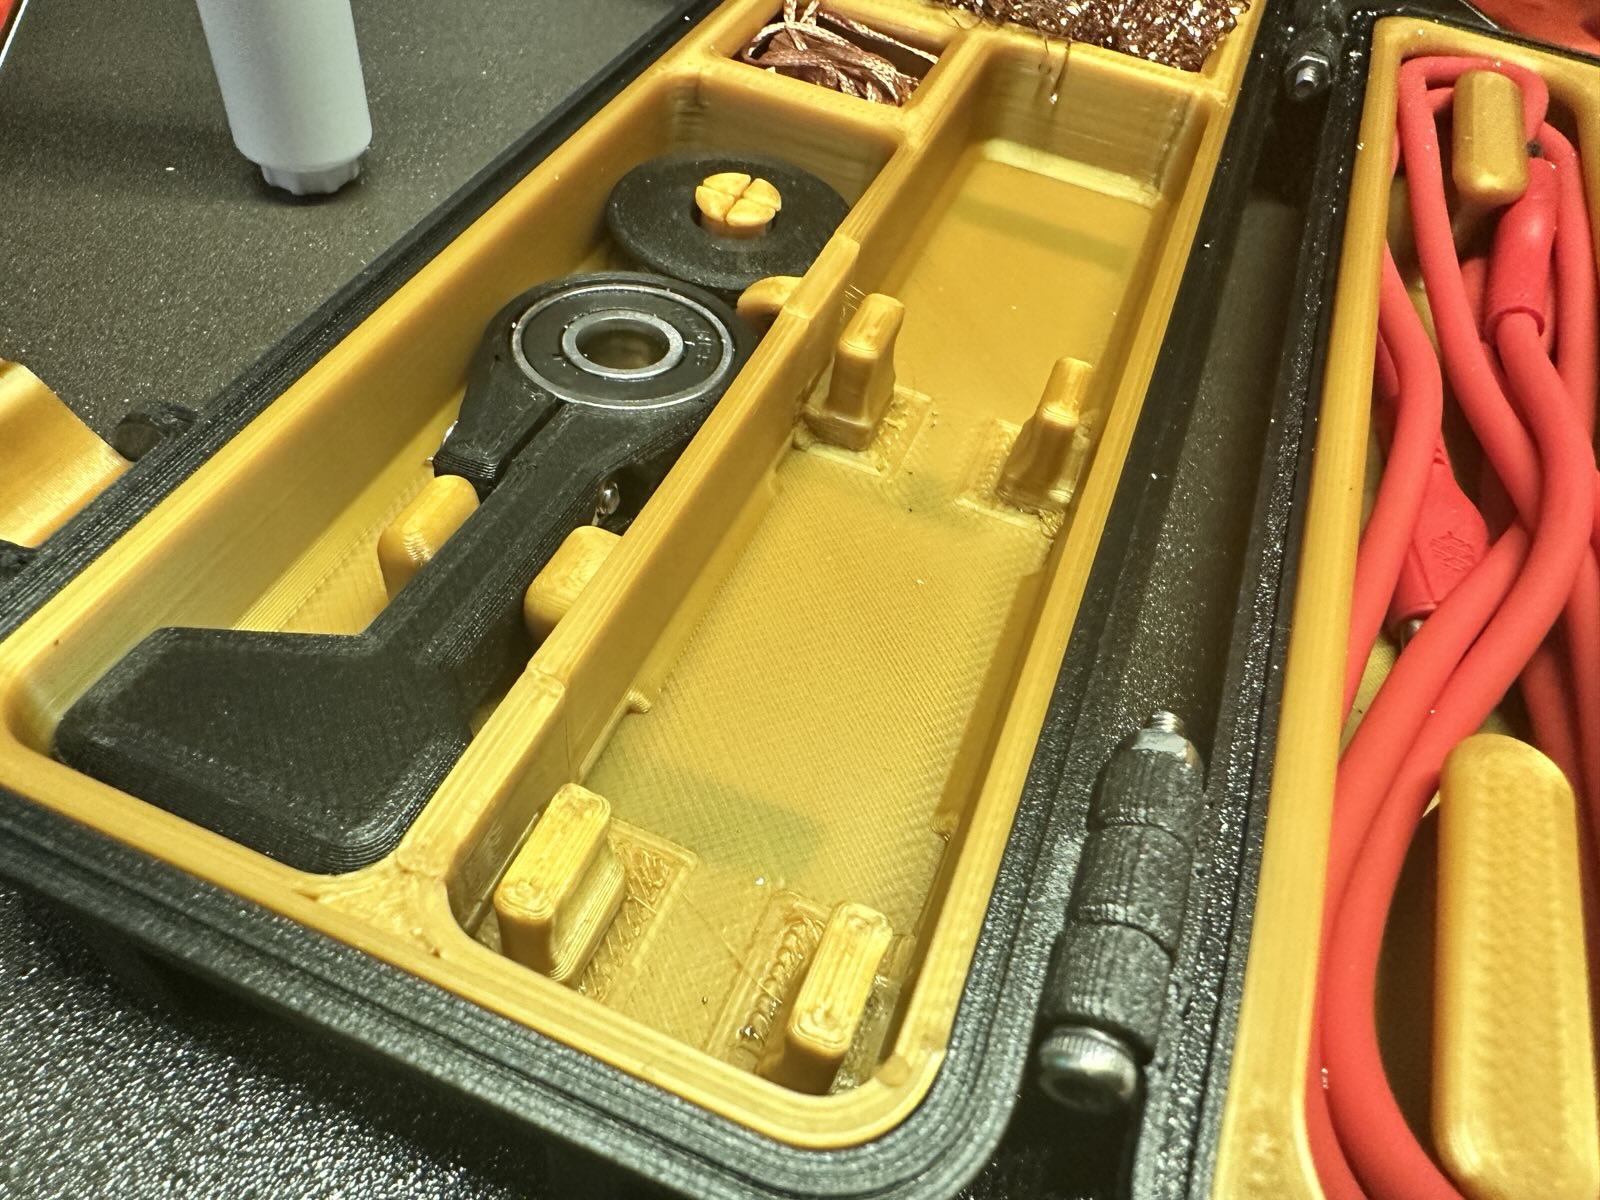
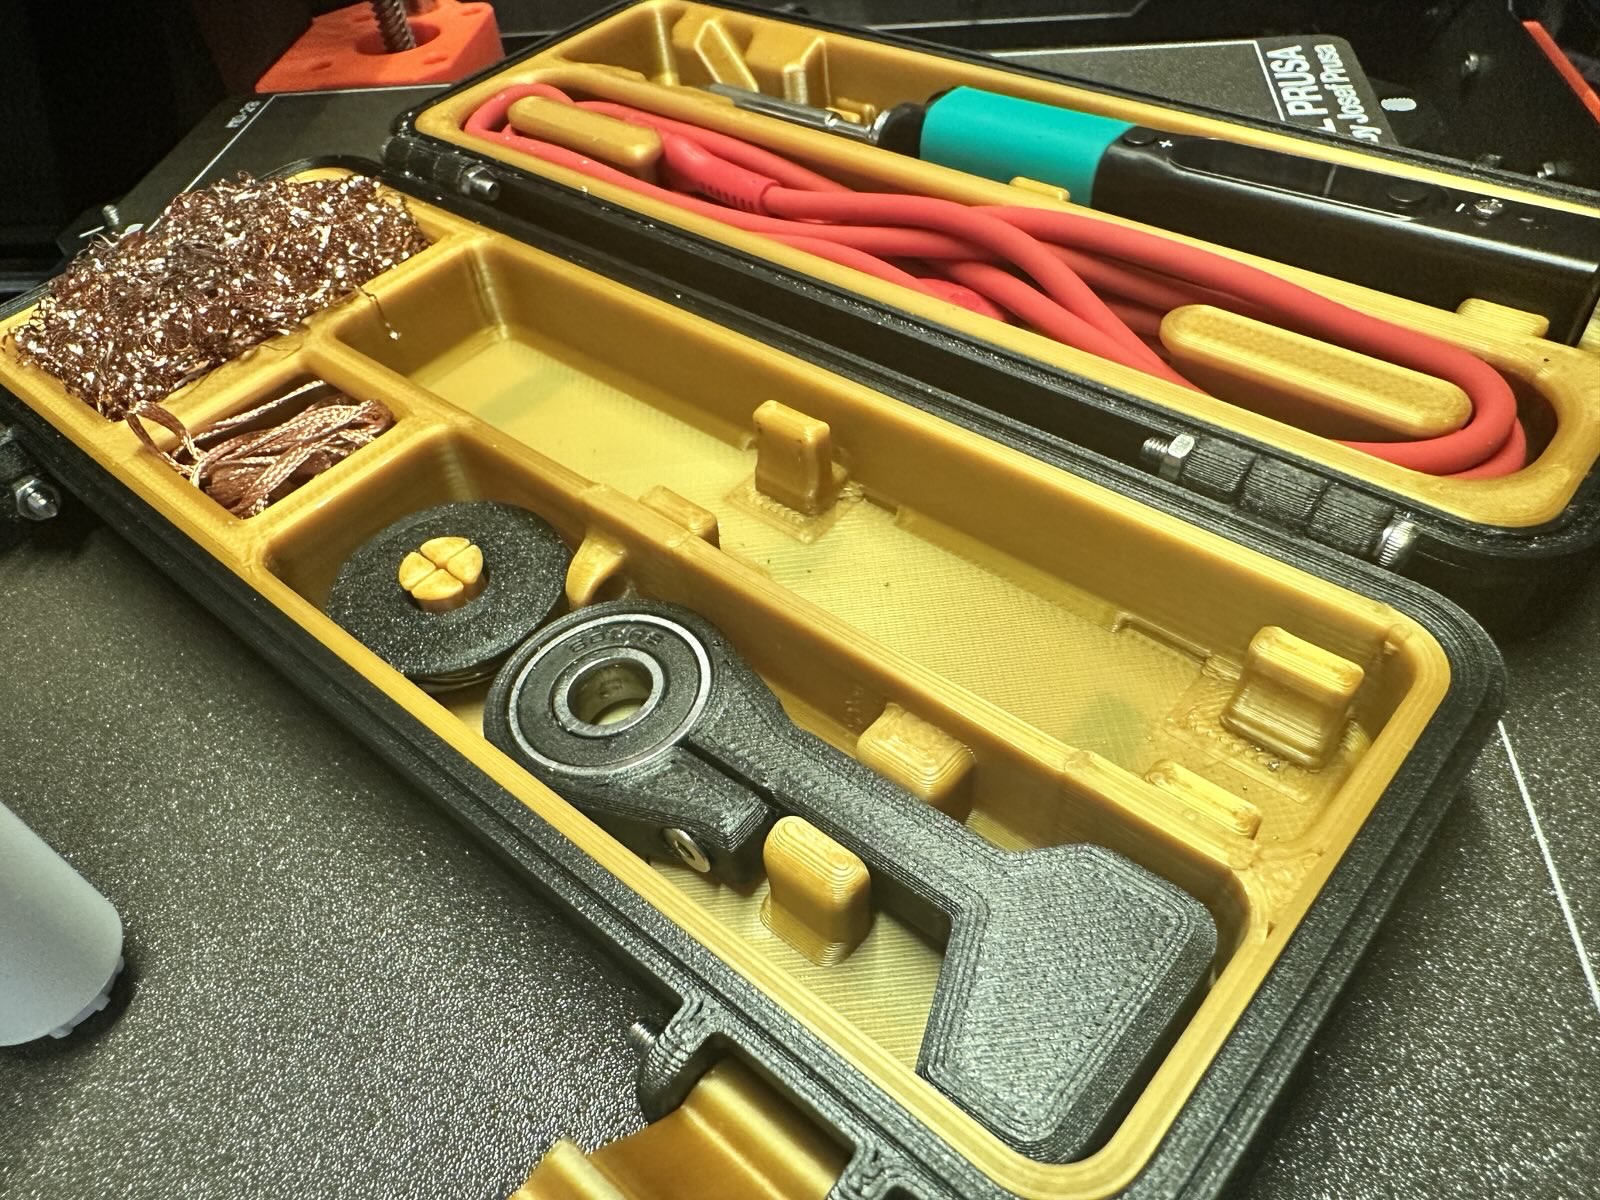
Don’t get me wrong, this is absolutely a hack/goblin-engineering/mess, but the bottom line is that IT WORKS. Your projects may not need so many messy hacks or slicer trickery, but its always good to have these skills in your back pocket. Even if its not the “right way” to do something, its often the faster way.
For more slicer trickery, check out these great videos from some of my favorite 3D printing YouTubers:
- YouTube - Teaching Tech - 8 great 3D printer slicer features you might not know about
- YouTube - Made with Layers (Thomas Sanladerer) - Slicer Hacks to improve your 3D Printing Game
- YouTube - Maker’s Muse - How to 3D Print like a Pro using Custom Modifier Meshes!
If you would like to print this model (or the remix), check out the following links: