
aka: TAHMS RAHMS
I finished a project over the weekend: Rom Browser - A simple web app designed to let my friends easily browse rom collections.
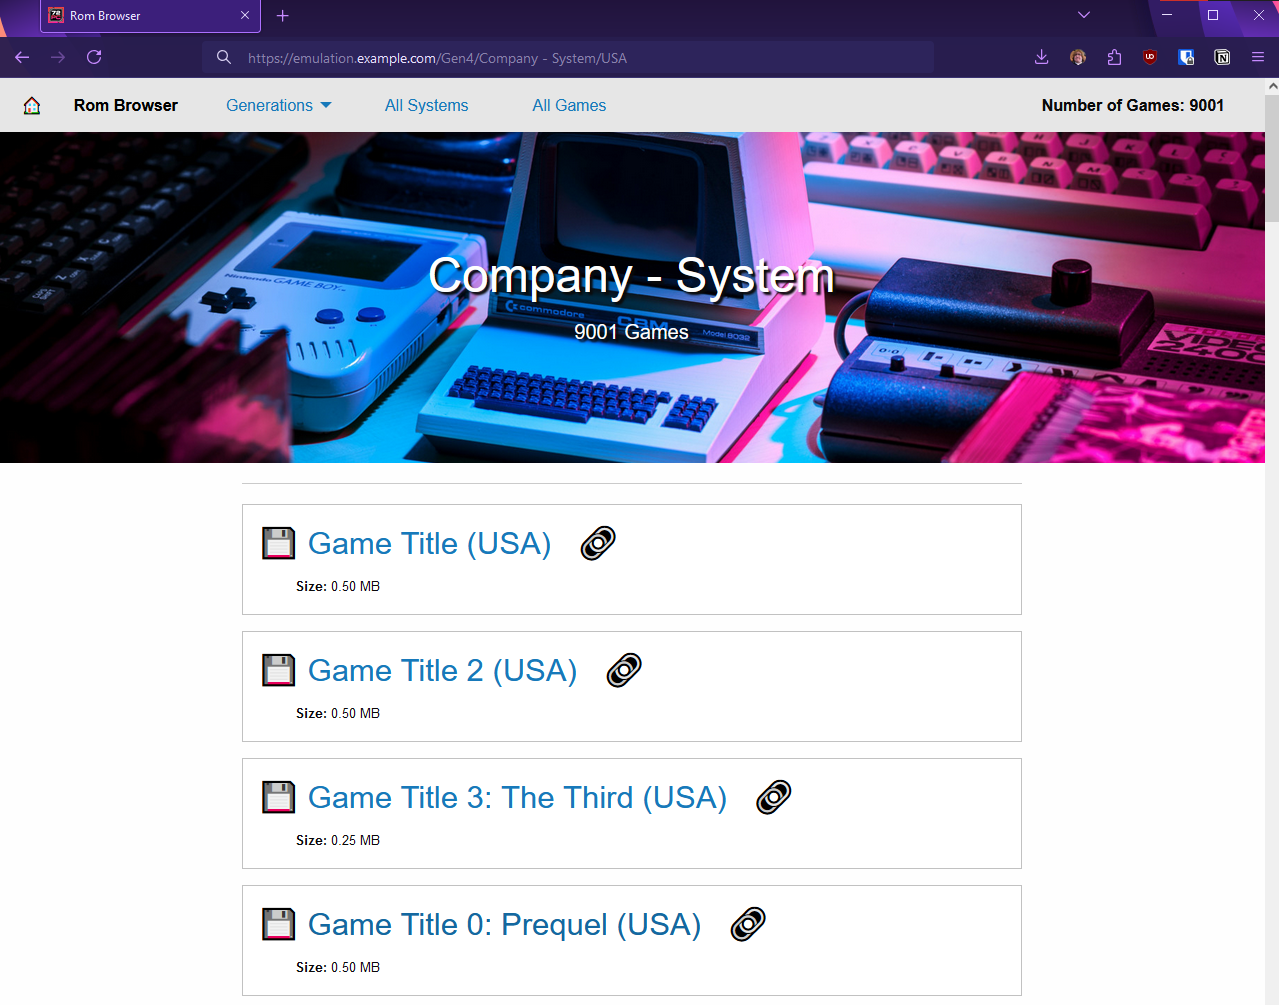
Why? What? Where can I get it?
I fucking love classic games. Whatever “classic gaming” means to you, love it, hell yeah, 10/10, can’t get enough. I love the idea of shared and open culture, freedom of information, and a more limited copyright system. I love roms, emulation, and game preservation. Now that you know where I’m coming from, let’s talk about the why.
A lot of people I know spent a very long time collecting and organizing rom packs for a wide variety of systems. Conveniently, I recently purchased a storage server for my homelab:
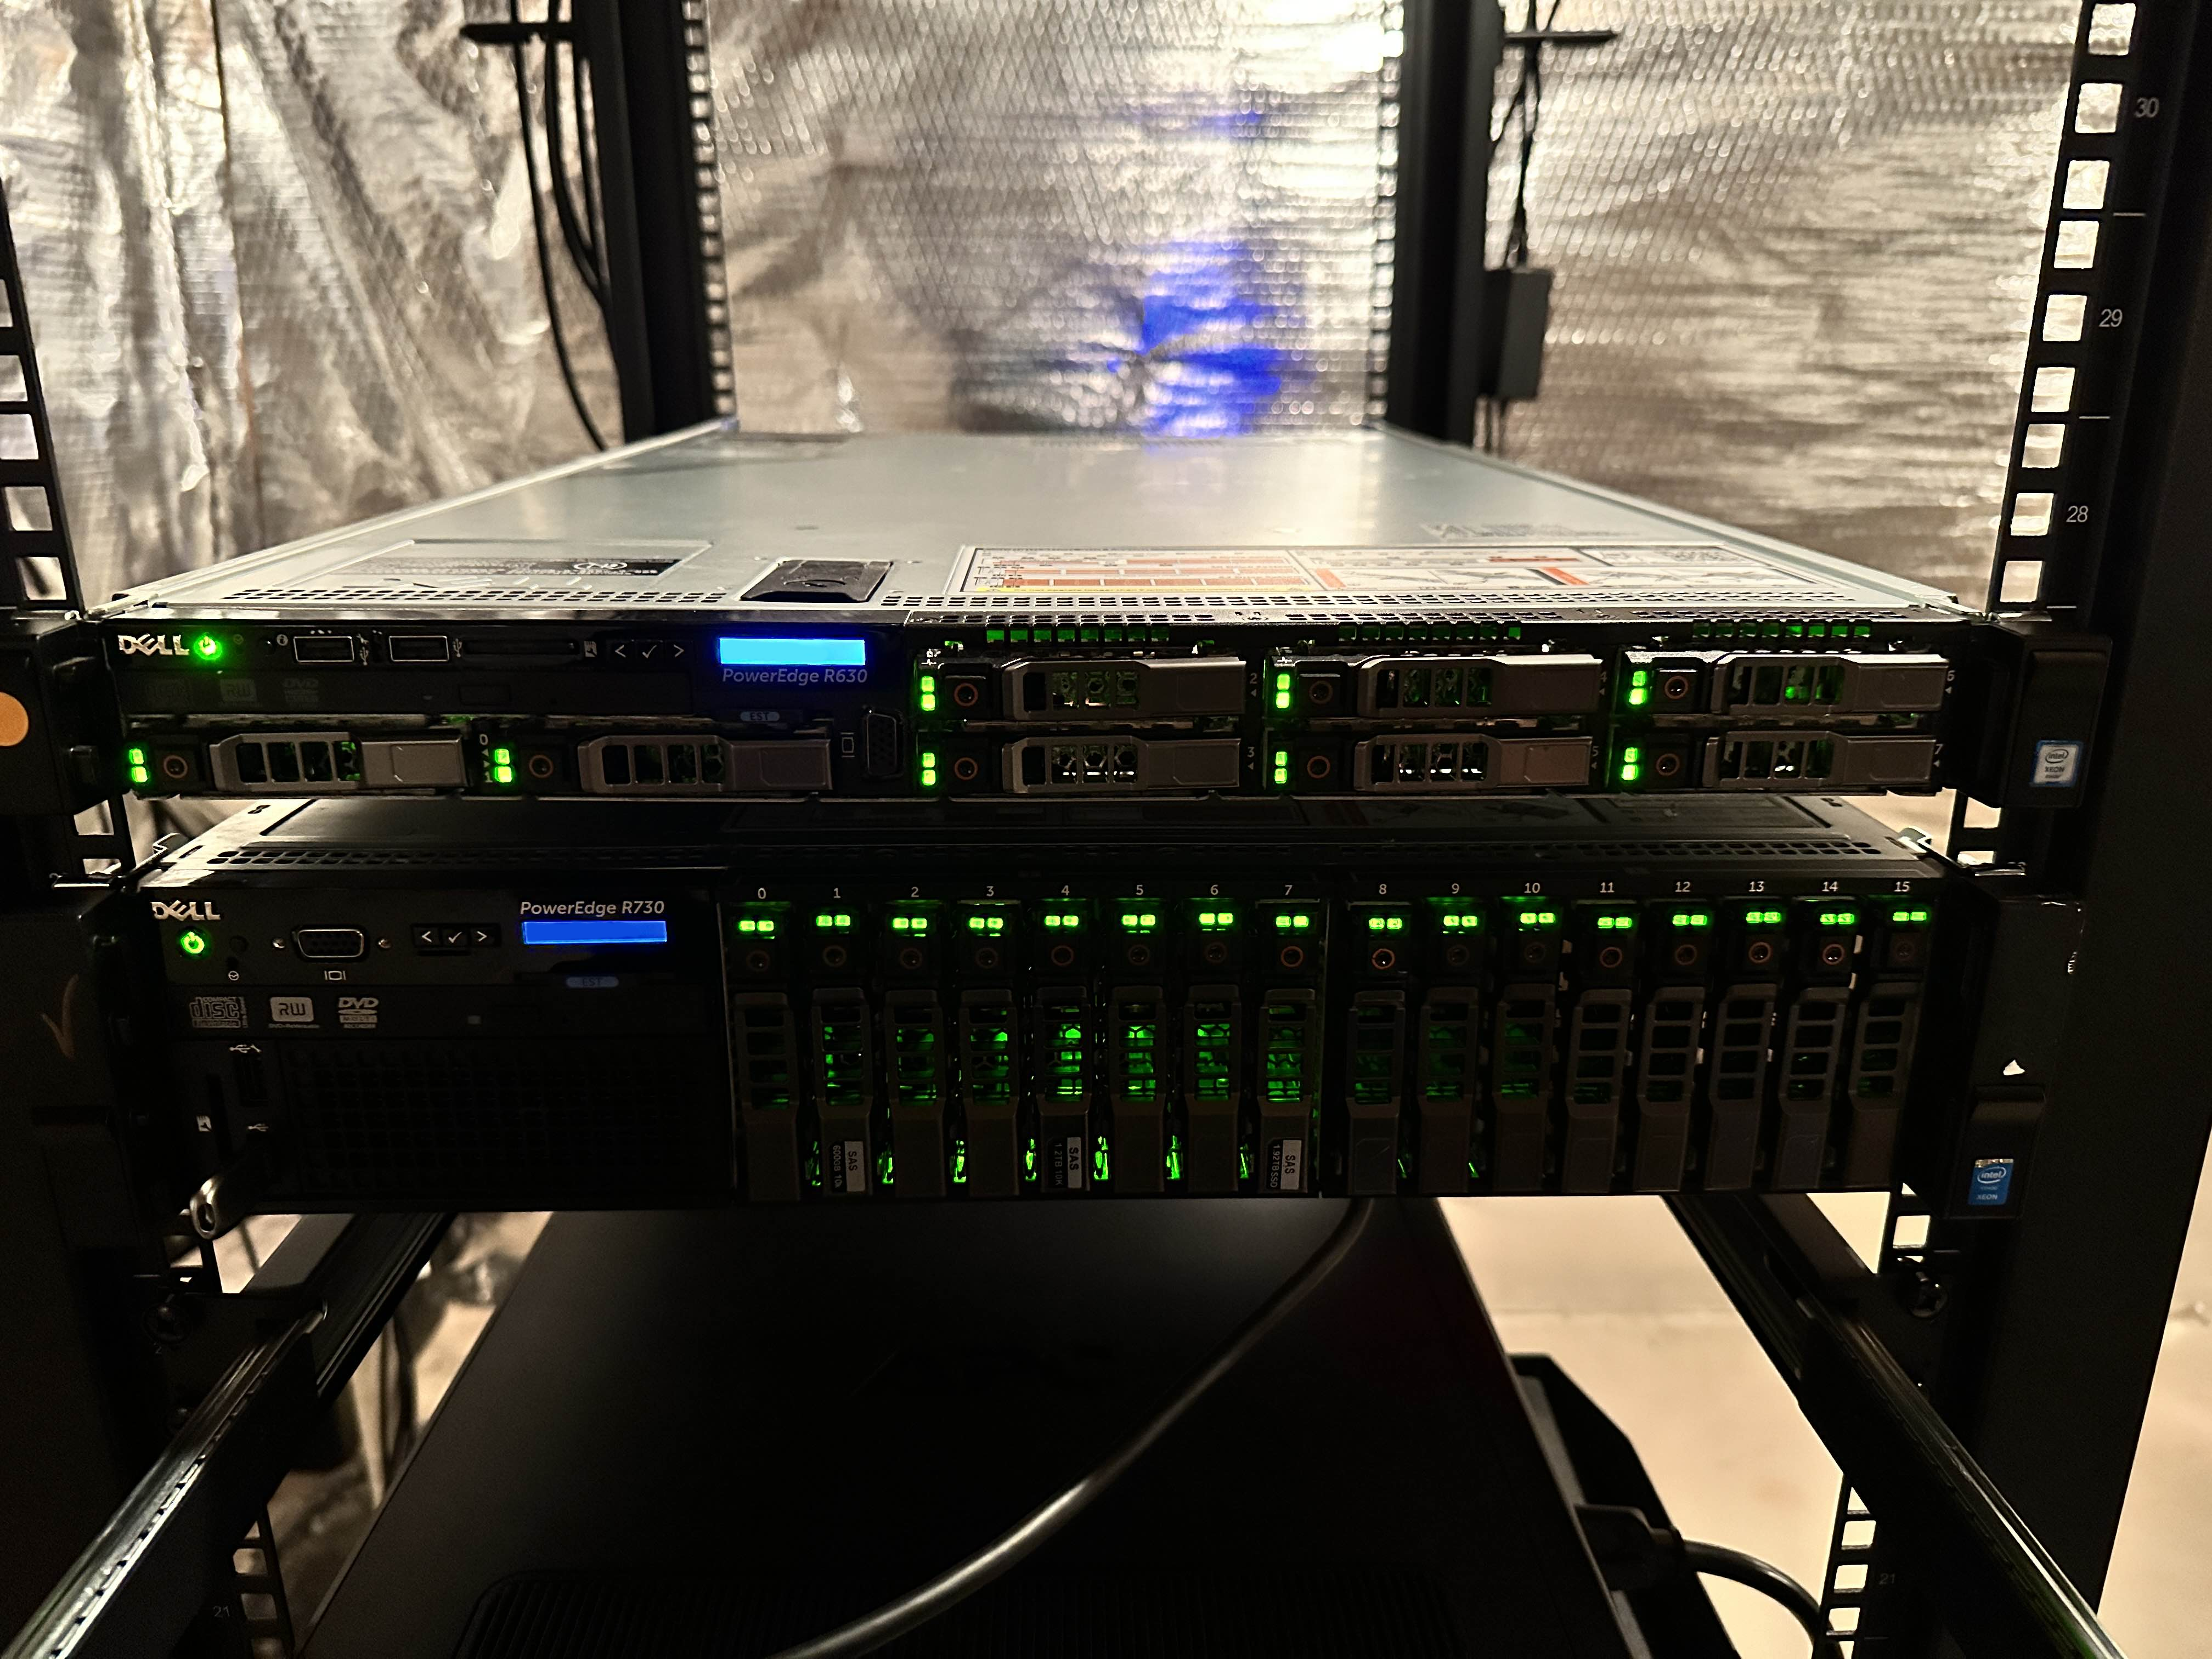
So now my friends had a place to back up their collections. But we wanted more than just backups, we wanted an easy way to share these collections. At first, I tried issuing everyone S3 MinIO Silo keys, but, believe it or not, most people don’t use the AWS CLI on a daily basis. They wanted something easier to browse.
Thus, Rom Browser. I’ve needed to get deeper into frontend development for a while, and this project was just complicated enough to get really hands-on with something.
So… where can you get it? You can’t. This project is extremely specific to my particular hosting setup. From networking to the folder structures, its just not generic enough to be easily hosted. There are a few useful things to share that I’ll post below, but right now there isn’t any linked GitLab project. So this isn’t a project announcement, its just a blog post.
The Requirements
Private Access
I’m not trying to get in trouble, and hosting a roms site on the open internet is an easy way to do that. This needs to be Wireguard-only, completely private network.
Simple Backend, Learn Frontend
This project shouldn’t be overly-complex on the backend. I have plenty of experience there, what I need to concentrate on is building the site itself. The backend can be dumb and shortcut-filled in an effort to prioritize frontend-learning.
Provide a Good User Experience
The entire point of this project is to be more usable than the AWS CLI. The site should be intuitive and make users happy. Use domain names, not IPs. Use HTTPS to avoid scary browser warnings.
Make MinIO Transparent
The user should never be aware that they’re interacting with MinIO. I won’t use pre-signed URLs or bucket rules to provide direct access. This will run through a pass-through downloader.
The Tech
Rom Browser is broken up into three components:
- Data Exporter - This just lists every object in the bucket, marshals the folder structure into struct variables, then exports this big-ass list of games as a JSON file.
- File Server - This handles distributing that JSON cache file and serving rom downloads to users.
- Frontend - This takes in that games cache file, then provides several useful views into the games data complete with download links.
Some of the benefits of this design are:
- No MinIO keys in the frontend, no chance of leaks.
- While the risk here is low, especially with per-key policies, I don’t want to introduce bad habits here.
- Users that have MinIO access can independently add new roms to the collection and this will be reflected on the site automatically when Data Exporter runs.
- No need for a complicated backend database scheme or anything. Its just a 5MB JSON blob. Not ideal, but good enough for casual use.
- I could do things like more aggressive caching/lazy loading/data sharding/etc, but this is a very small private site, its fine.
- Keeps me focused on the frontend and user experience, not on backend optimization.
For the frontend, I decided to try out https://vuejs.org/. I didn’t need the complexity of React, but wanted something a bit opinionated because I just don’t know enough about frontend development to have strong opinions yet.
Networking, Certificates, and Architecture
This site would be hosted on Wireguard at a private 10.x.x.x address. To support my “Good UX” goal, I bound this 10. address to a DNS name. Then, there was a new problem: HTTP-only sites give scary warnings in modern browsers. If I really want to provide the best user experience, I need HTTPS. I love Let’s Encrypt, but had only ever used it for internet-accessible sites. Never for anything internal.
After some poking around, I found LEGO, a Let’s Encrypt client that supports ACME DNS challenges. I plugged in my DNS-provider’s API key and it was able to issue a cert for my internal site without a problem. I then wrote a simple bash script to automate the renewal process and move the certs into the correct location.
The Data Exporter would be cron’d out to run once per hour. Doing the full list command, even on the local network, takes a bit over a minute. That’s far too long to make a user wait. So we need to run this ahead of time and cache the result. To avoid needing to write any sync-scripts to keep the cache file consistent across container volumes, I just hard-linked it.
The File Server is pretty simple. It listens for any requests to /download, then calls the appropriate handler. If the client asks for /download/games.json, the File Server reads the cache file into memory and provides it to the user. For anything else, it checks the path against a filename map to ensure it is in the dataset, downloads the object into memory, then hands it to the user. This helps obfuscate-away MinIO.
The frontend is just a simple https://vuejs.org/ site and uses Foundation for the styling. All of this is served from a single domain and backed by a Let’s Encrypt cert.
Cool Stuff
Use Caddy to bind multiple containers under same domain
I discovered that you can use Caddy to bind multiple servers together under one domain, then just switch who gets the request based on the path. In the example below, I’m serving the site through the frontend container, but any calls to emulation.example.com/download/ is passed through to the File Server container.
https://emulation.example.com {
        tls /etc/caddy/certificates/emulation.example.com.crt /etc/caddy/certificates/emulation.example.com.key
        reverse_proxy 10.1.2.3:3000
        reverse_proxy /download/* 10.1.2.3:8080
}
Use Dockerfile to compile and containerize your software
I wanted to just git push from my local machine and actually build the software on my server, but I didn’t want to clutter it up with a bunch of NodeJS stuff. Luckily, Docker makes this process pretty clean and easy. You can actually use a multi-step Dockerfile to build and then containerize your software. Here’s an example for a simple Go program:
FROM golang:1 AS builder
WORKDIR /opt/builder
COPY . ./
RUN CGO_ENABLED=0 GOOS=linux go build

FROM alpine:latest
EXPOSE 8080
COPY --from=builder /opt/builder/fileserver /bin/fileserver
CMD ["/bin/fileserver", "-config", "/data/config.toml"]
And here’s what I used for the frontend:
FROM node:23 AS builder
WORKDIR /opt/builder
COPY . ./
RUN npm install
RUN npm run build

FROM nginx:latest
EXPOSE 80
COPY --from=builder /opt/builder/dist/ /usr/share/nginx/html/
I then wrote a bash file to build all components in a single command.
So… did it work? Was this better than the AWS CLI?
My friends absolutely loved it. The site is easy to use, fast, and provided me with a perfect opportunity to jump into frontend development. I’m extremely happy with VueJS, Foundation, TrueNAS, MinIO, and the work I put into gluing all these together.
Until next time, thanks for reading!